
Add locations
Reslink system is all about managing work in remote places, so setting up the Locations module is something you most probably need to do.
You can add a location from the Reslink web service or from the Reslink app.
Add a location in the web service
Watch our tutorial video on how to create locations:
To add a location, follow these steps:
.xls file, you can skip these steps and
import the location list into the web
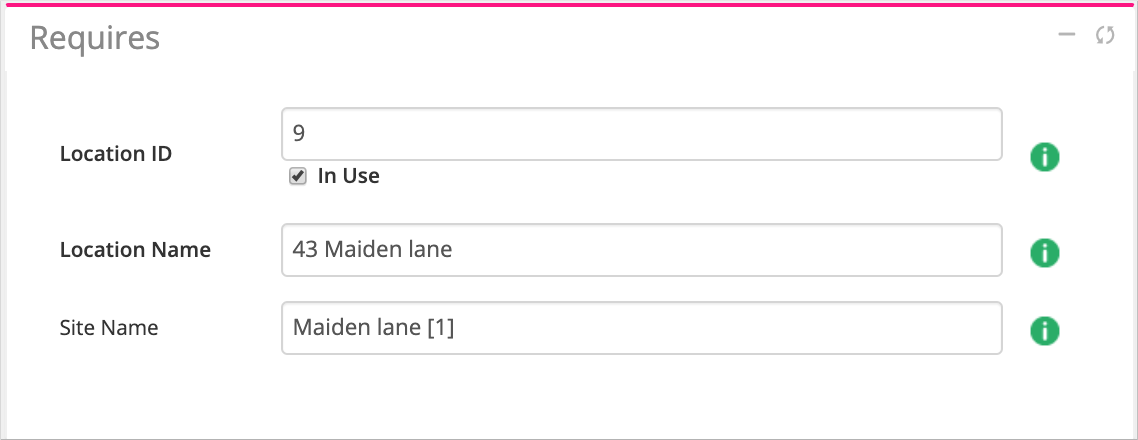
service.Go to the page, click Add new and fill in the Location name field.
-
(Optional) Enter the location information you want to store in the system, such as the address, in the Details block.
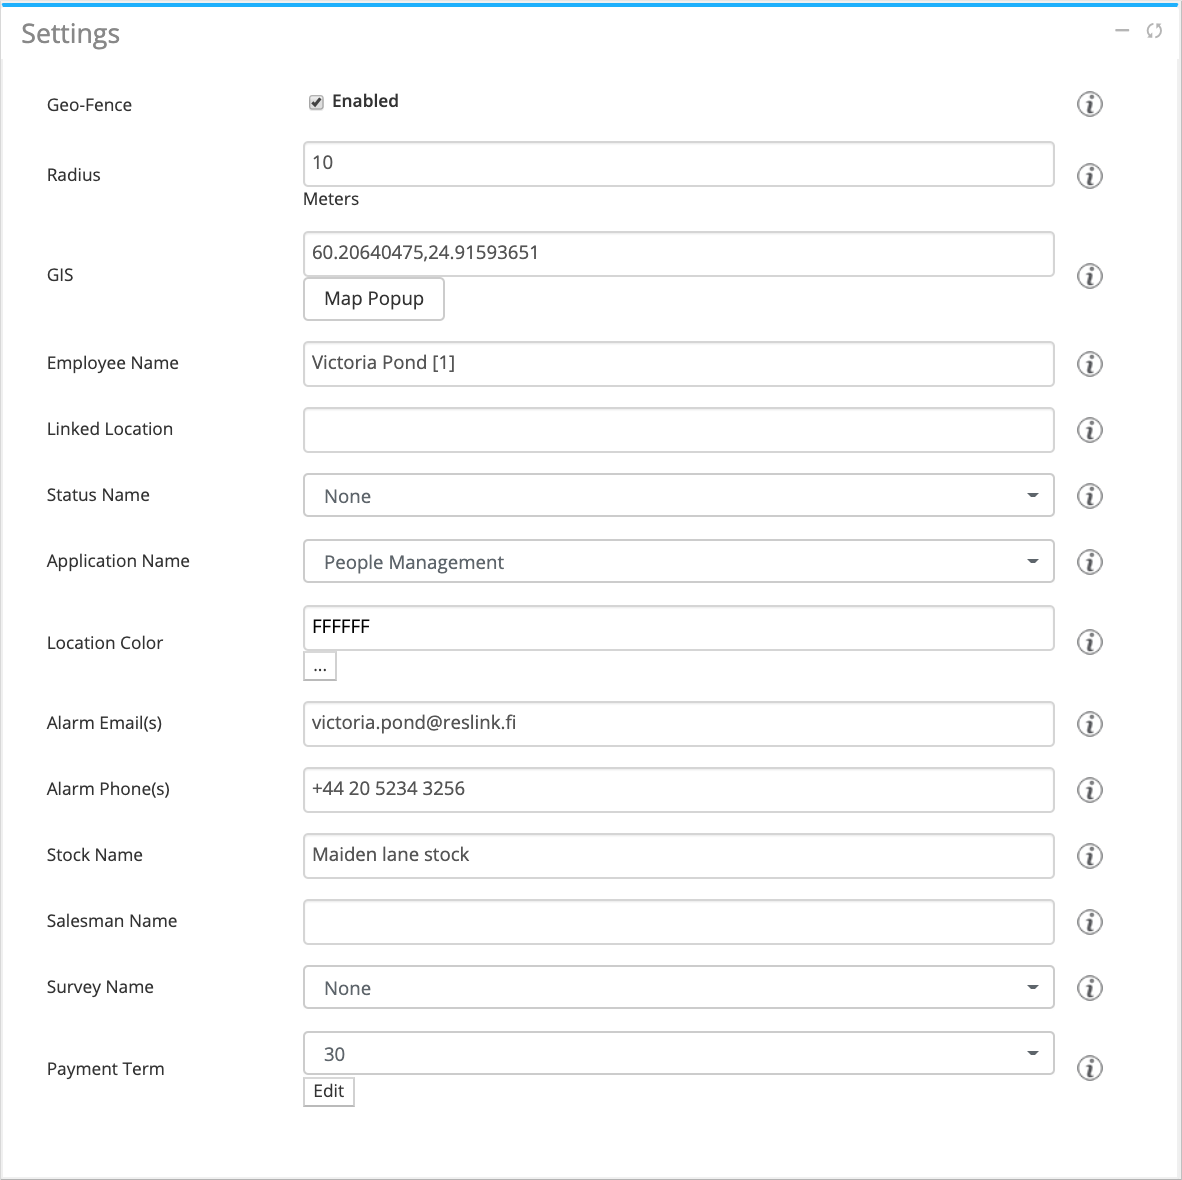
(Optional) Enter the location coordinates and radius in the GIS field in the Settings block (alternatively, you can add them later on the spot with the Reslink app). Location coordinates and radius are needed if you are going to use GPS tracking and geofencing.
-
Save the changes.
After you have added a location, you may need to activate it in the app to receive the proof of visit. Activation means linking the location to GPS coordinates or the NFC tag used on the spot.
Add a location in the app
To add a location from the app:
If your app is in GPS mode (meaning, it uses GPS to identify locations), go to in the menu.
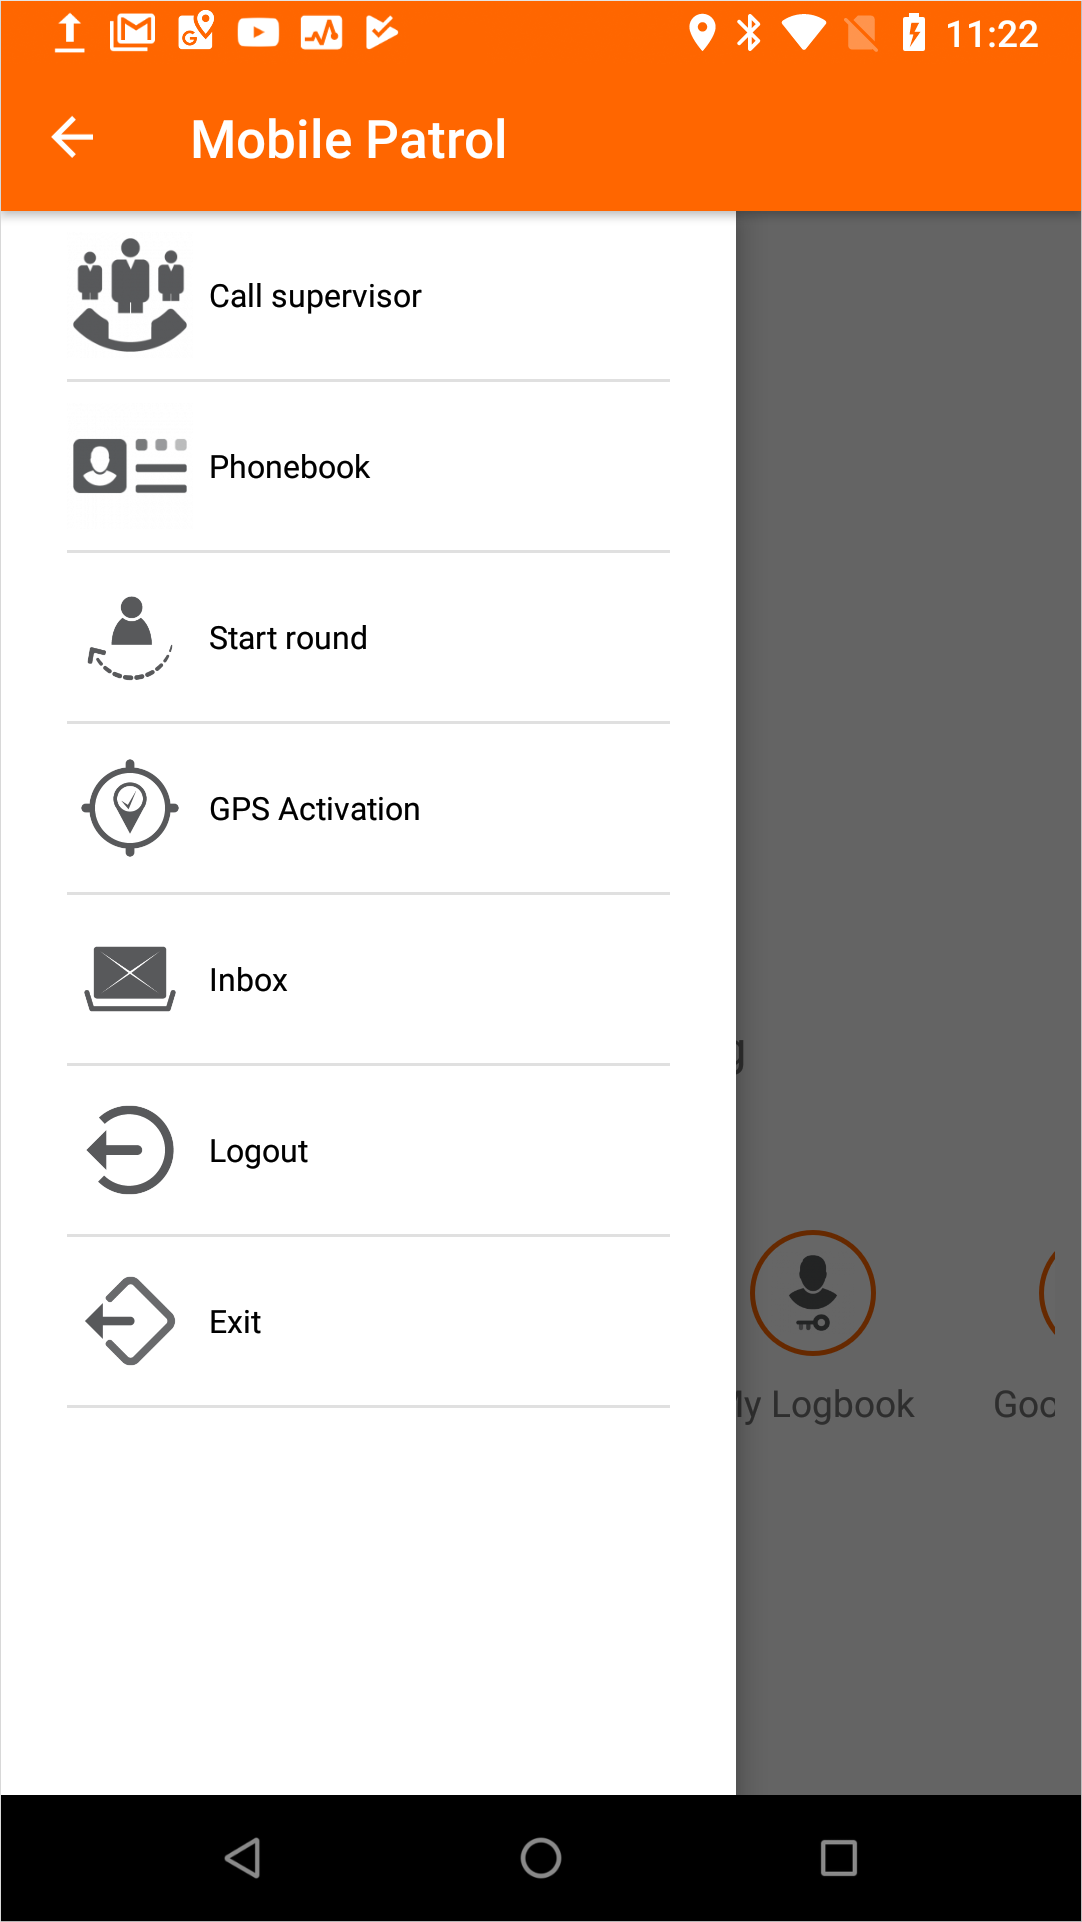
If your app is in NFC mode (meaning, it identifies locations by reading the NFC tag), go to .

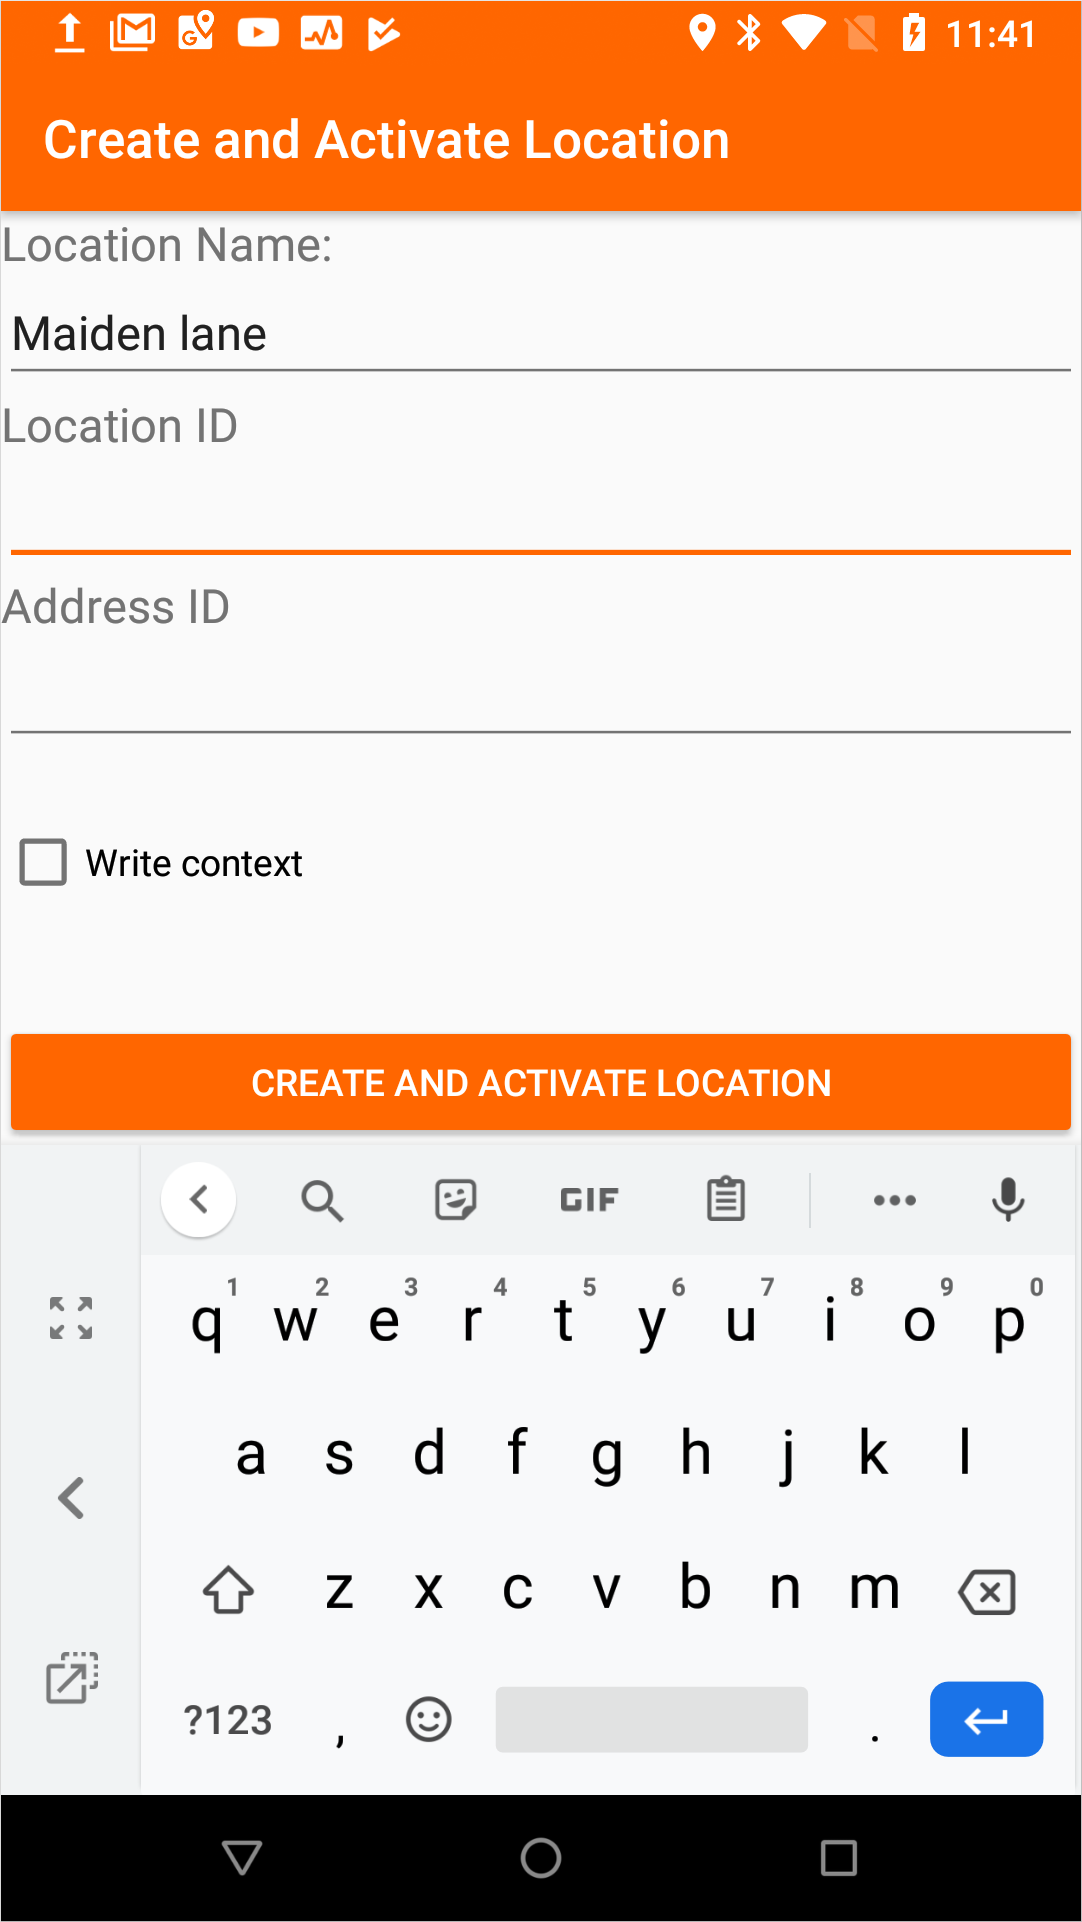
Enter Location Name and tap Create and activate location.
-
For NFC apps, touch the tag to activate it (this writes the location ID to the tag memory).
GPS-based apps pick up the location coordinates automatically.
The location is added to the Locations list and can be viewed in the web service.