
Set up email alarms
You can set up email alarms that include event details attached. To do this:
-
Go to and click Add new.
Specify the triggering transaction in the Alarm name field.
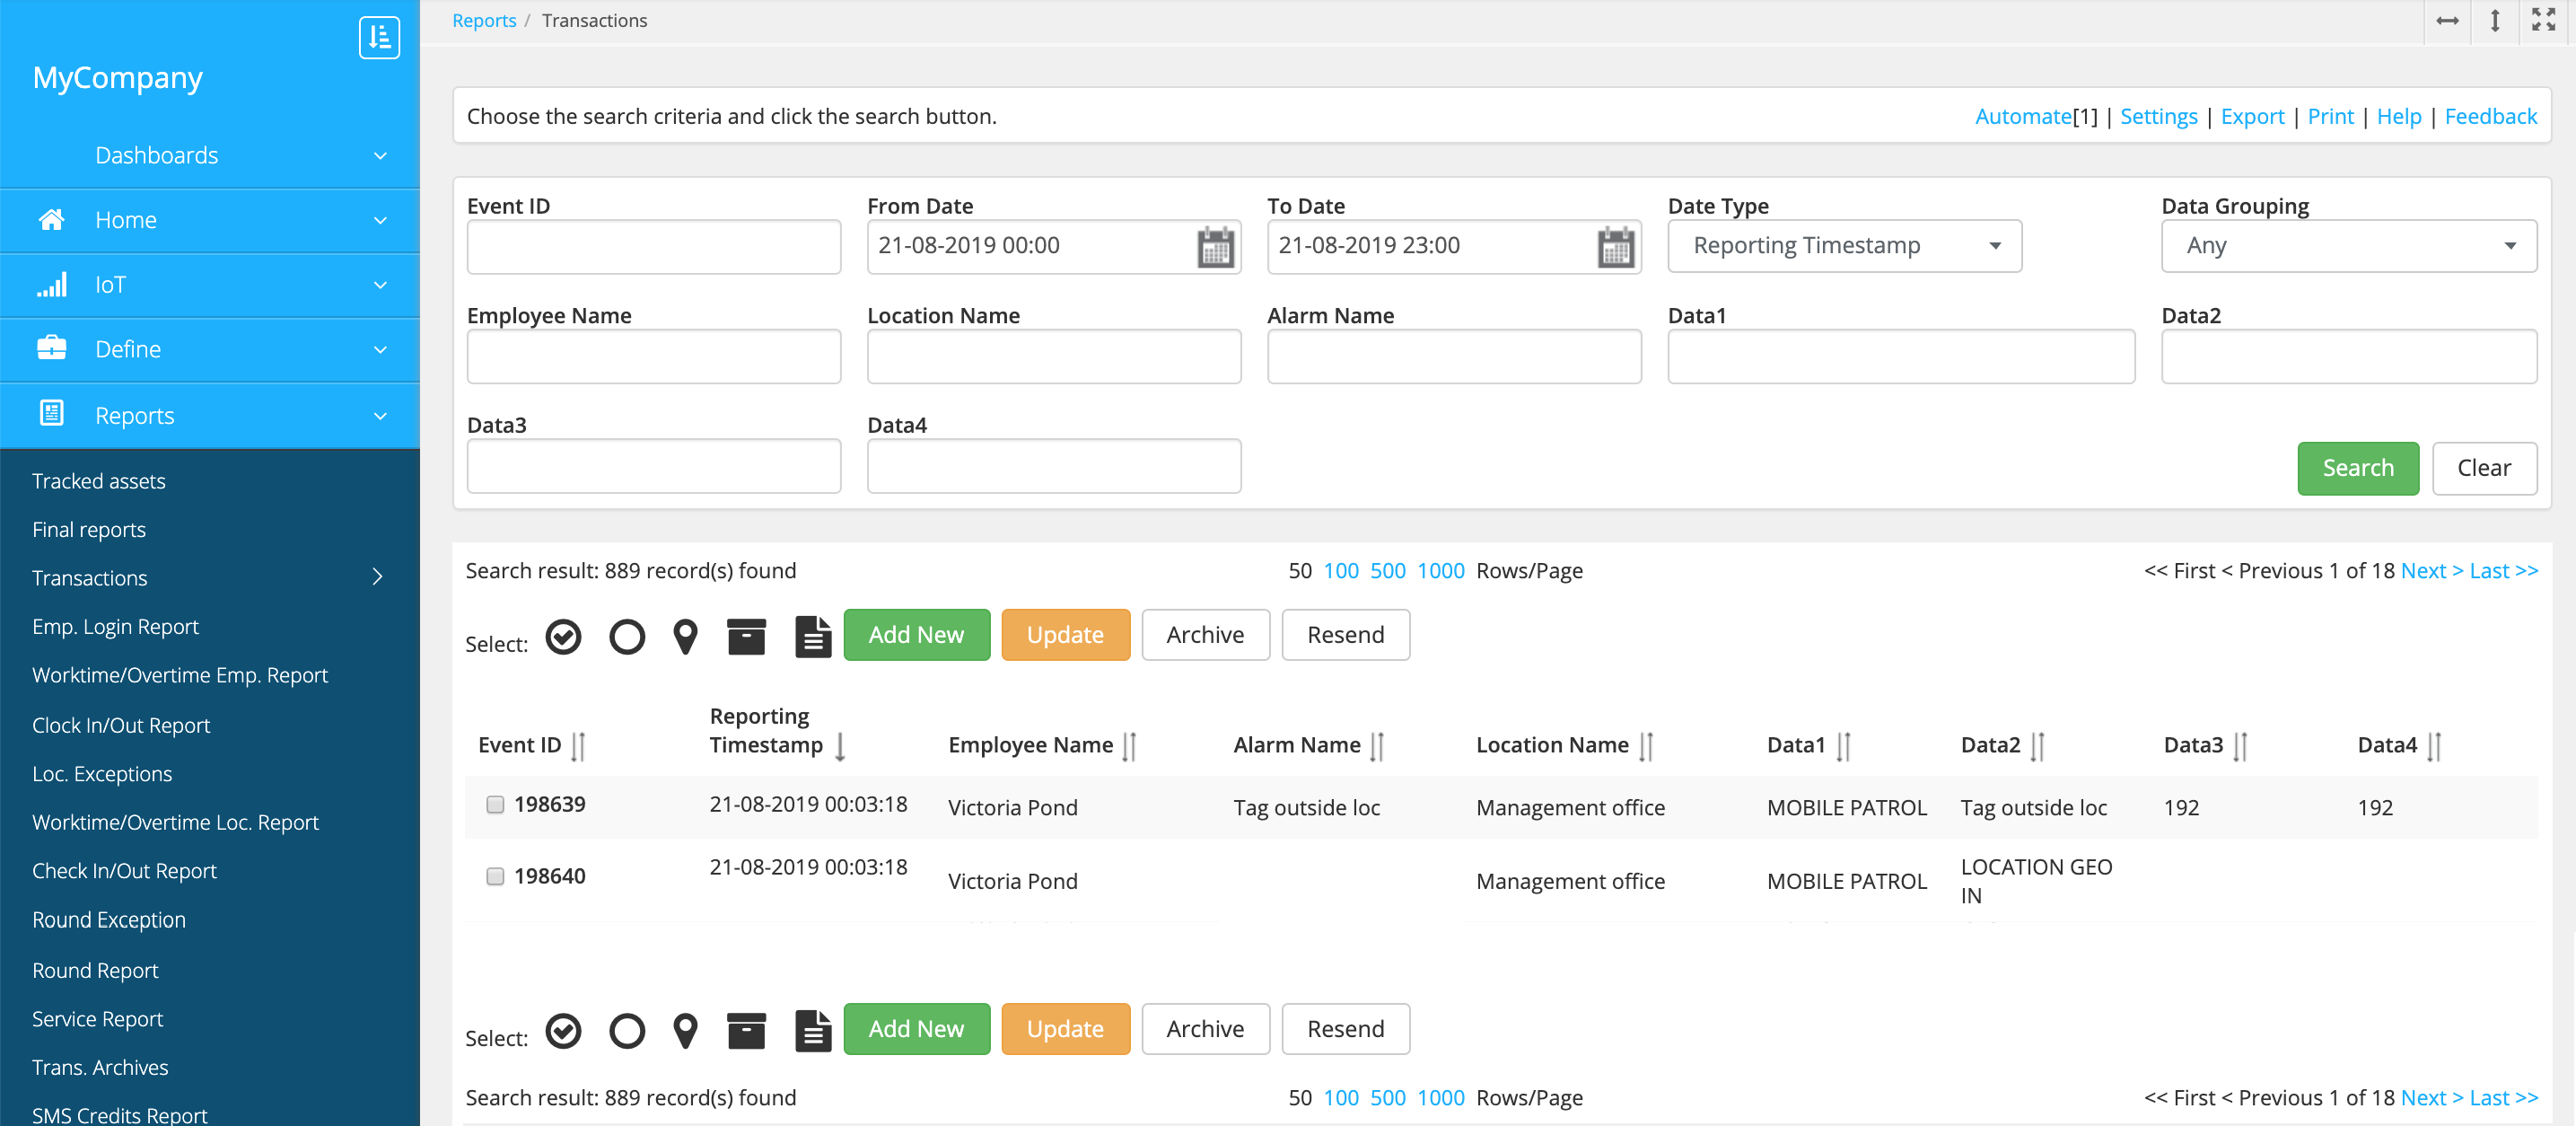
Each transaction has data fields (Data 1, Data 2, Data 3, Data 4). The content of these fields is defined in the application. You can view them in the Transactions report (), for example:
To specify the triggering transaction in the alarm settings, enter the data field content in the Alarm name field. For example, "Tag outside loc". To match two or more data fields, enter them separated with a comma.
-
Enable email alarms in the Send email field.
-
Specify the alarm recipients. Alarm can be sent:
-
To the site/location managers.
Specify the Alarm email(s) in the site/location settings and then choose the Site based or Location based option in the alarm settings.
-
To the user who generated the transaction (for example, the one who sent the form).
Choose the Employee based option in the alarm settings.
-
To the email address the mobile user specified in the form content when filling in the form in the app.
Choose the Form content based option in the alarm settings.
-
To the address specified in the Email section of the alarm settings.
-
-
Enter the email content in the Alarm email field.
-
Define the attachment.
Tick the Attachment checkbox in the Email section and define what document you want to receive in the Settings section:
-
Transaction report.
To receive a transaction report, choose Transactions in the Module for reporting field and enter any fragment of transaction content in the Alarm name field.
-
The form sent from the app.
To receive a form, choose Default in the Module for reporting field and enter the form name (or its fragment) in the Alarm name field.
-
-
Configure the attachment fields. For this, Reslink recommends creating a special user, for example, "Alarm settings" user:
-
Create a user with the "Alarm settings" username and log in to the user's account.
-
Set up the fields:
For the Transactions report, go to and choose the fields to include in the alarm attachment file.
For the form sent from the app, go to the and choose the form fields to include in the alarm attachment file.
-
Log in to your account, go to the alarm settings () and enter the "Alarm settings" username in the Alarm user profile field.
-
-
Choose the format in the Attachment type field.
Attachment can be sent as a PDF, CSV or XLS file. You can also choose the PDF layout.
-
Save the alarm.