
Transfer assets
When an employee takes an asset or transfers it between the stocks, they should enter these changes in the Asset management app. If needed, transfers can also be marked via the web service.
Transfer assets in the app
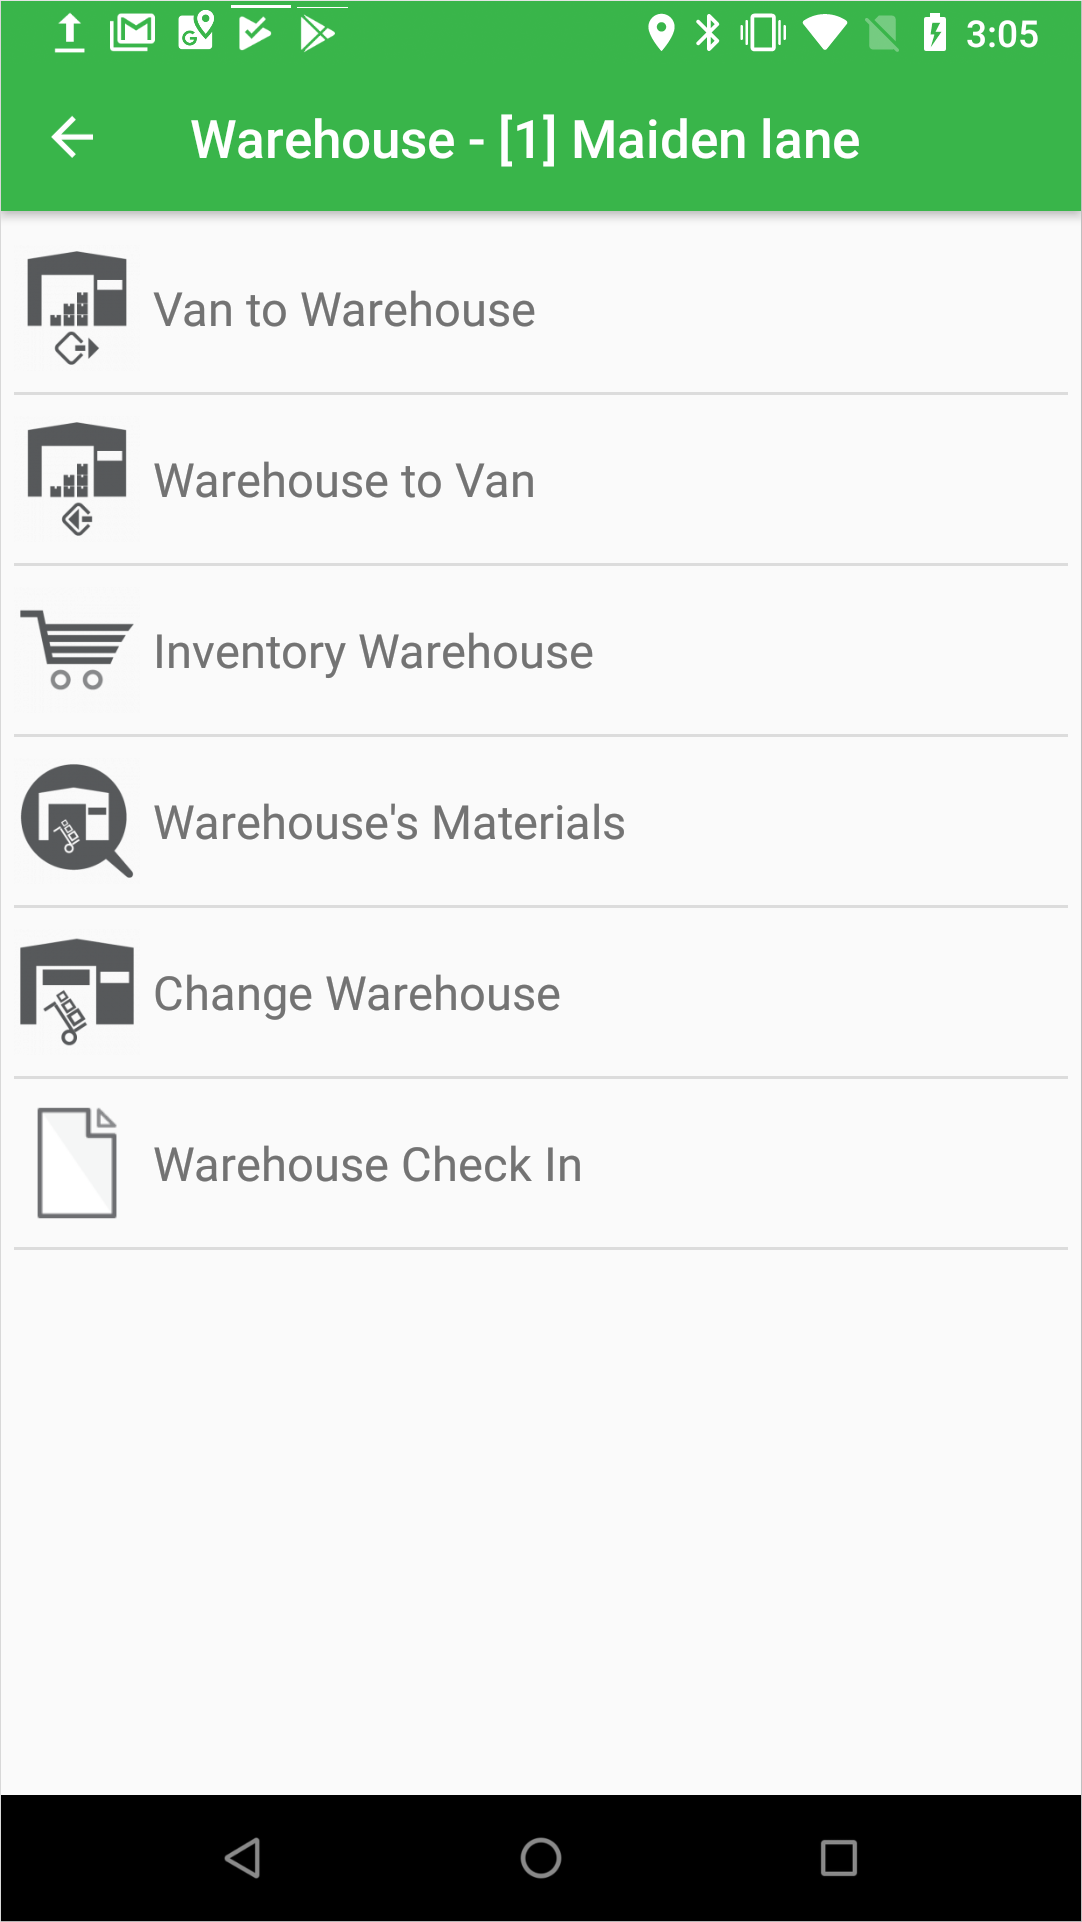
Marking asset transfers in the app is usually the most convenient way as the user can do it on the spot while borrowing equipment and materials. To transfer assets in the app:
Choose the stocks between which you move the assets, for example, .
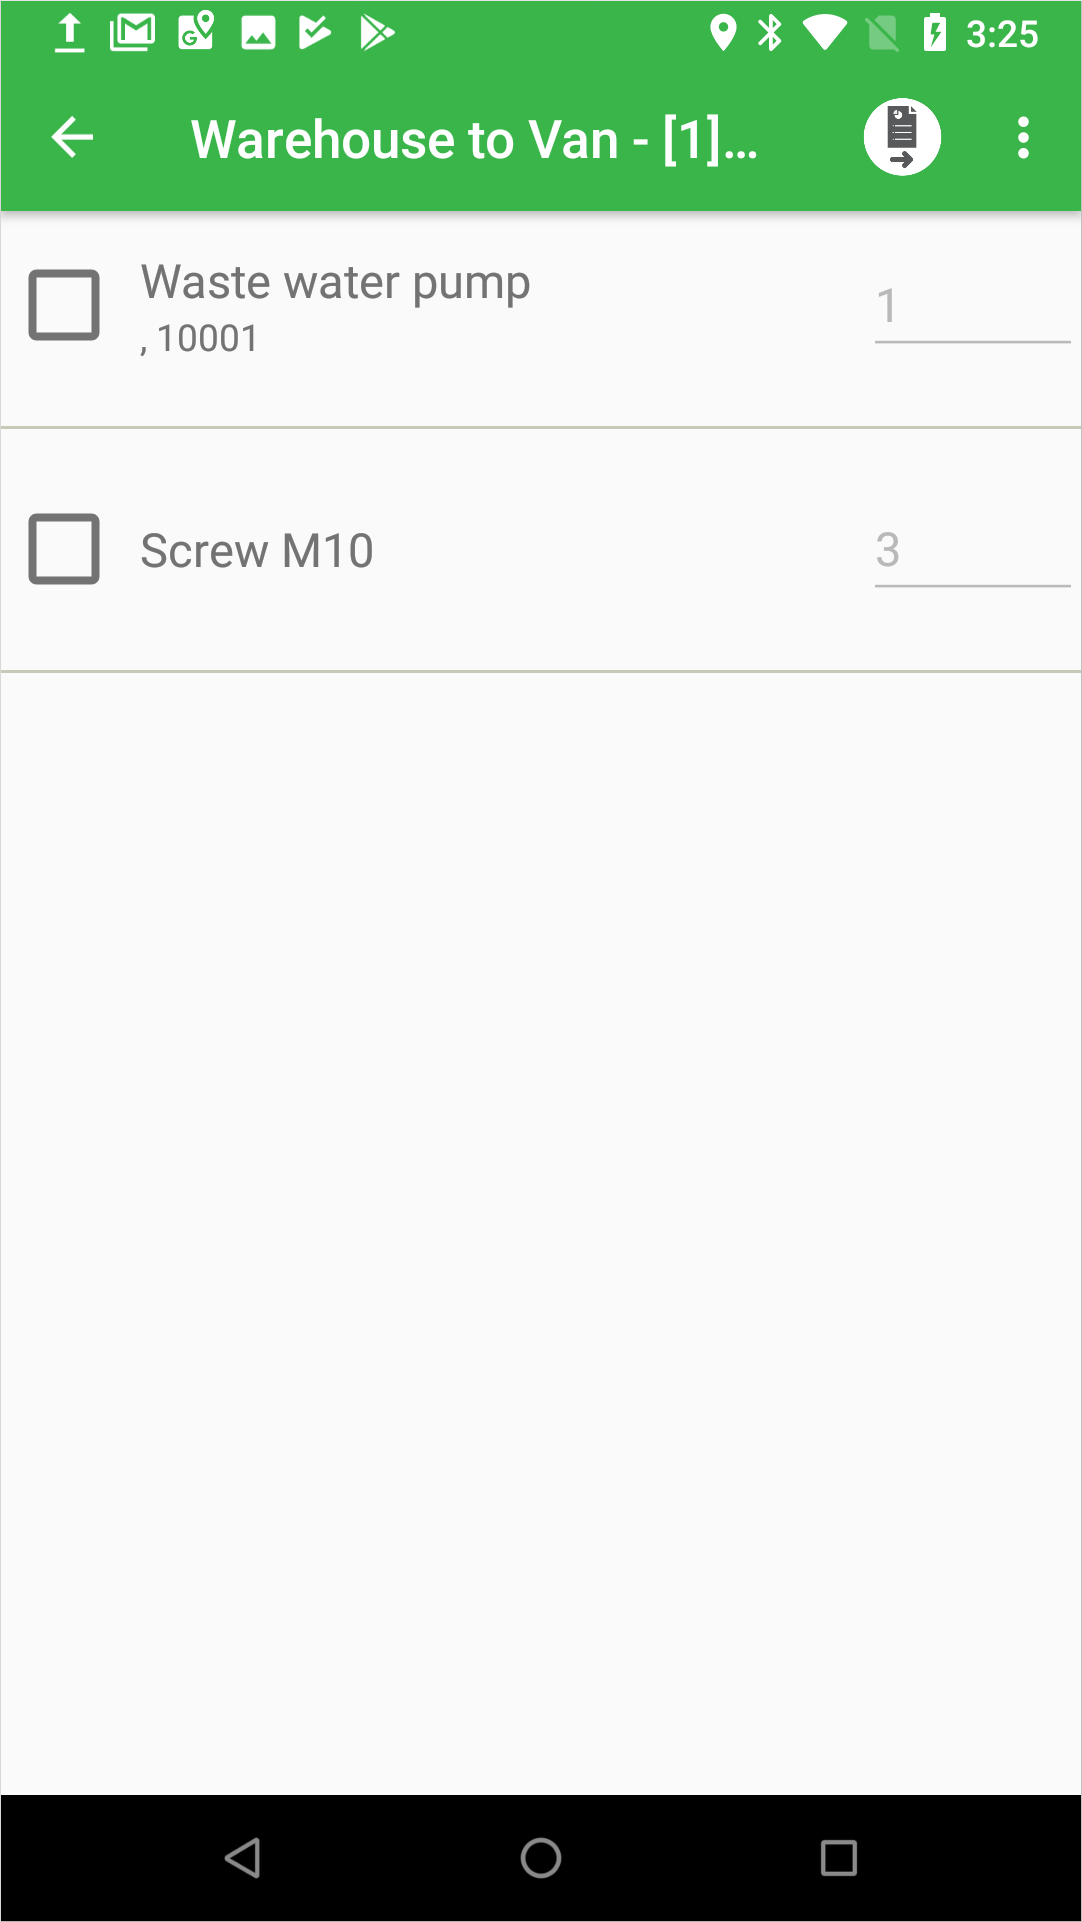
Choose the assets and quantity and submit the information to the Reslink platform
 .
.
Transfer tracked assets in the web service
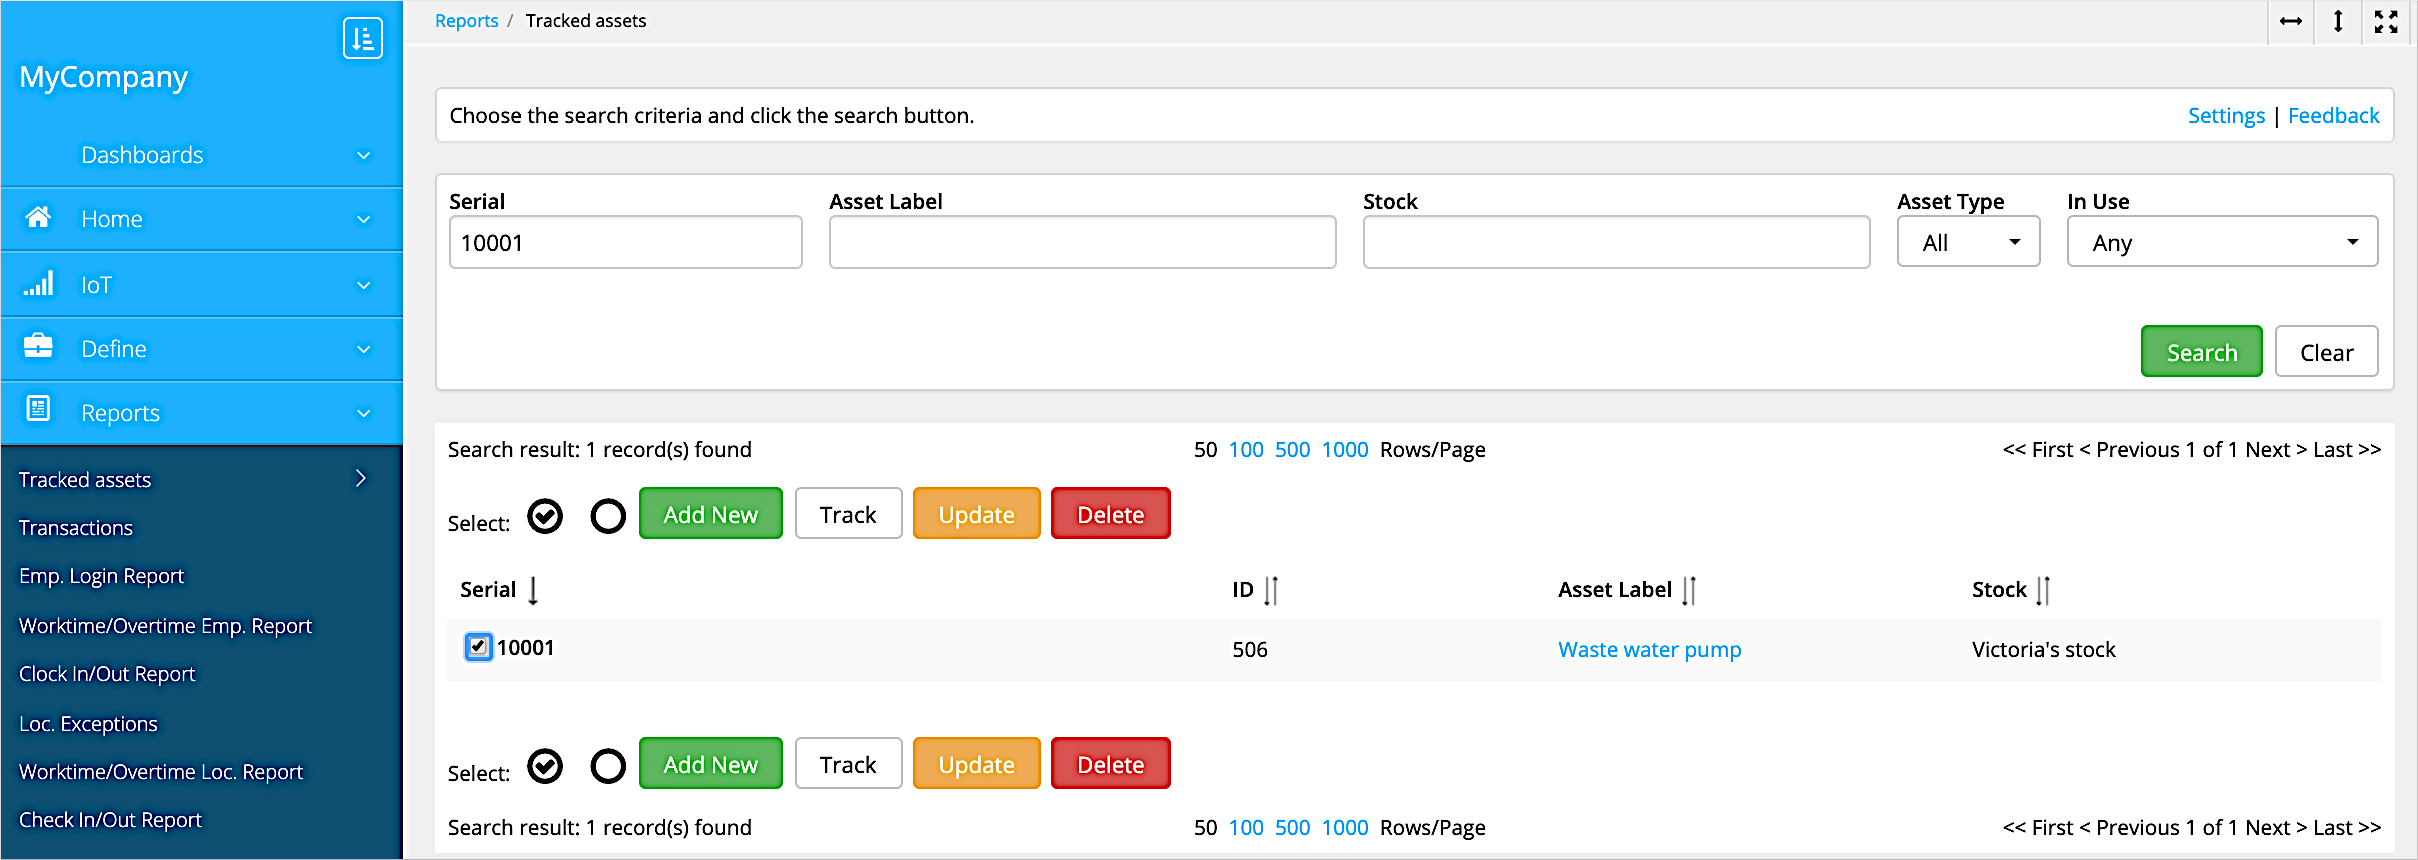
If you need to use the web service to mark the transfer of tracked assets:
Go to the page, choose the asset and click Update.
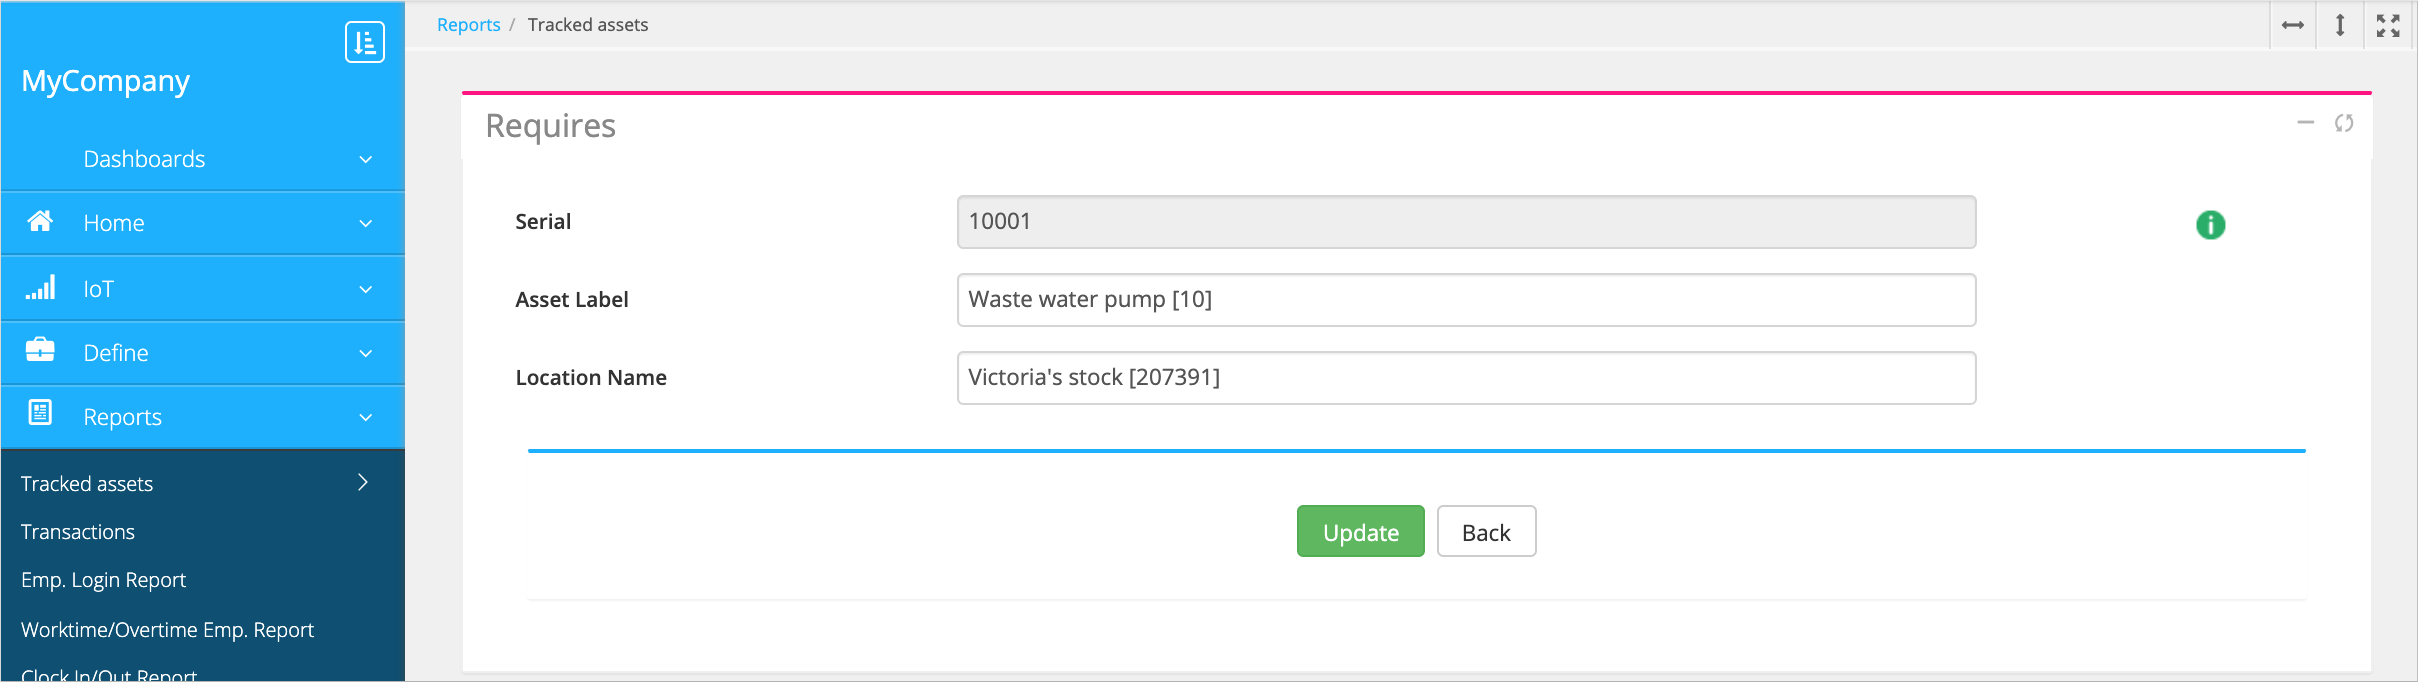
Enter the new stock in the Location name field and click Update.
Transfer untracked assets in the web service
If you need to use the web service to mark the transfer of untracked assets:
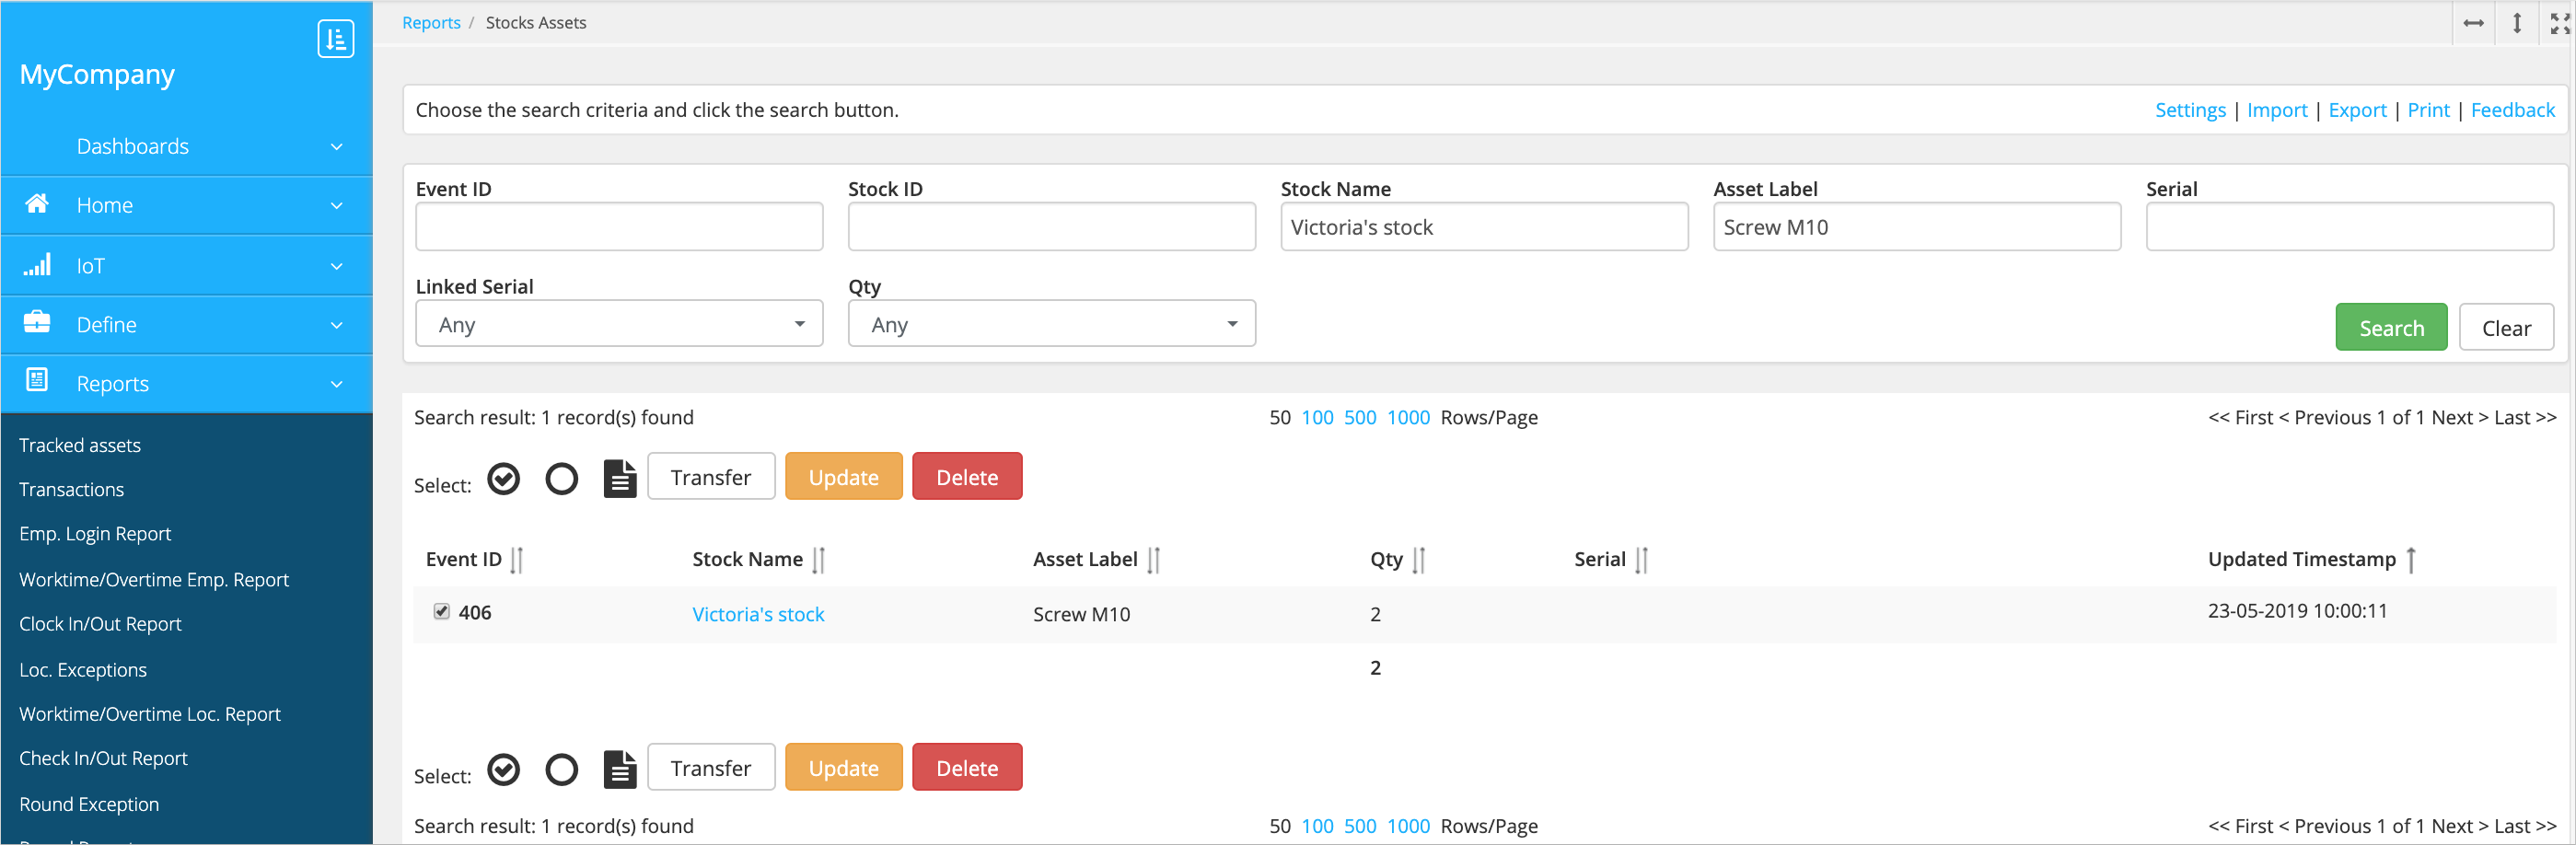
- Go to one of the asset management pages in the Reports
module:
- Stock assets – All assets stored in all stocks.
- Site assets – Assets stored in the site-based stocks.
- Location assets – Assets stored in location-based stocks.
- Employee assets – Assets stored in the user-based stocks.
Choose the stock asset from the list and click Transfer.
Choose the quantity of items to transfer in the Qty field.
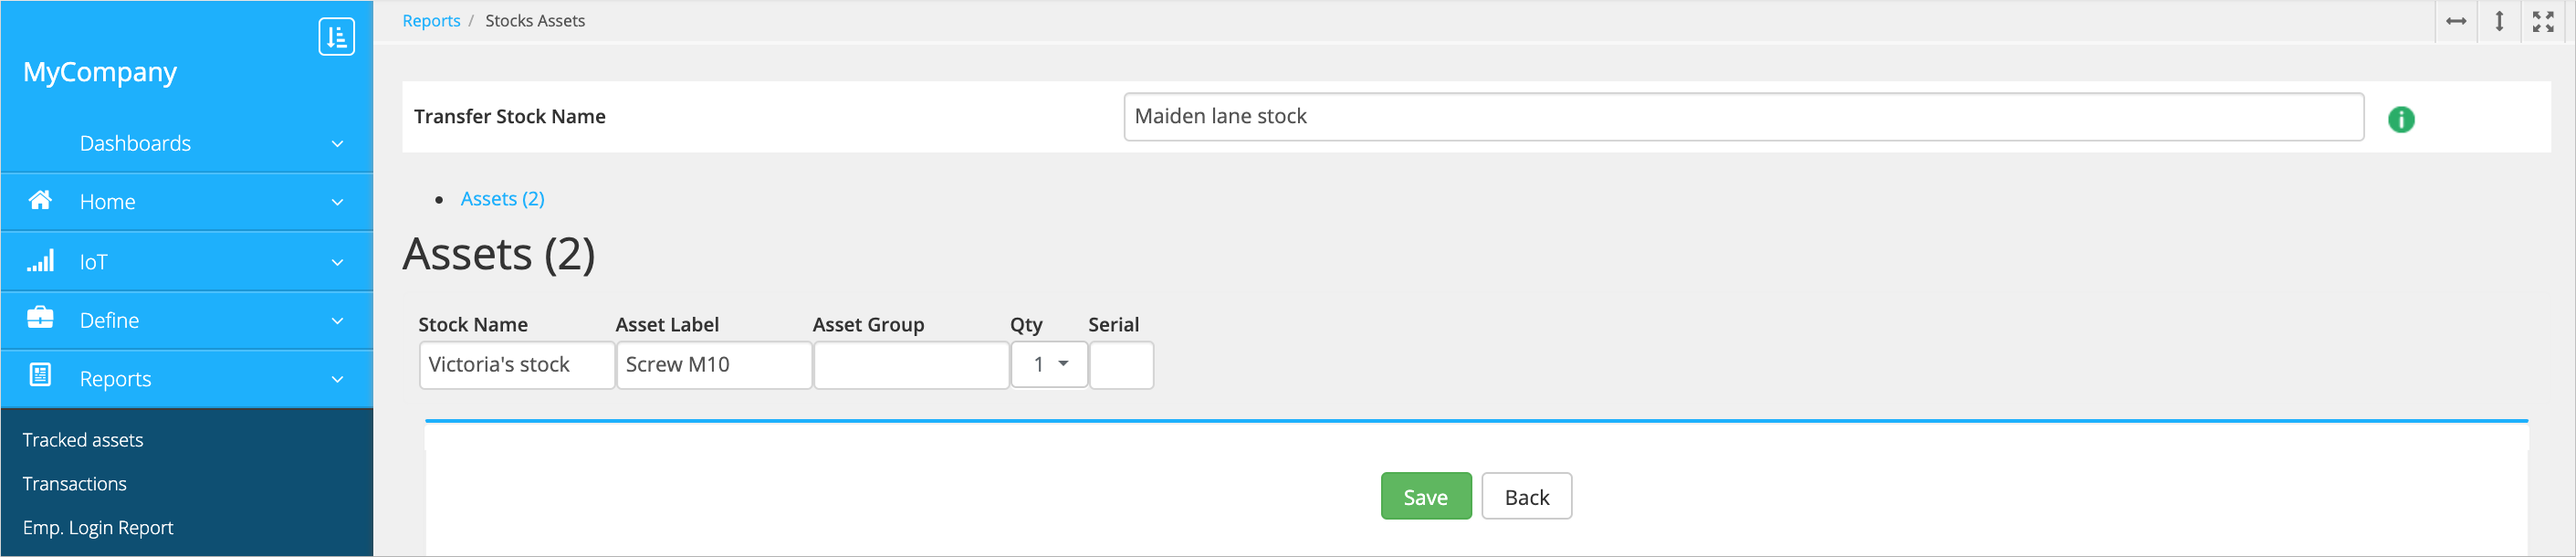
-
Choose the destination stock in the Transfer stock name field and click Save.