
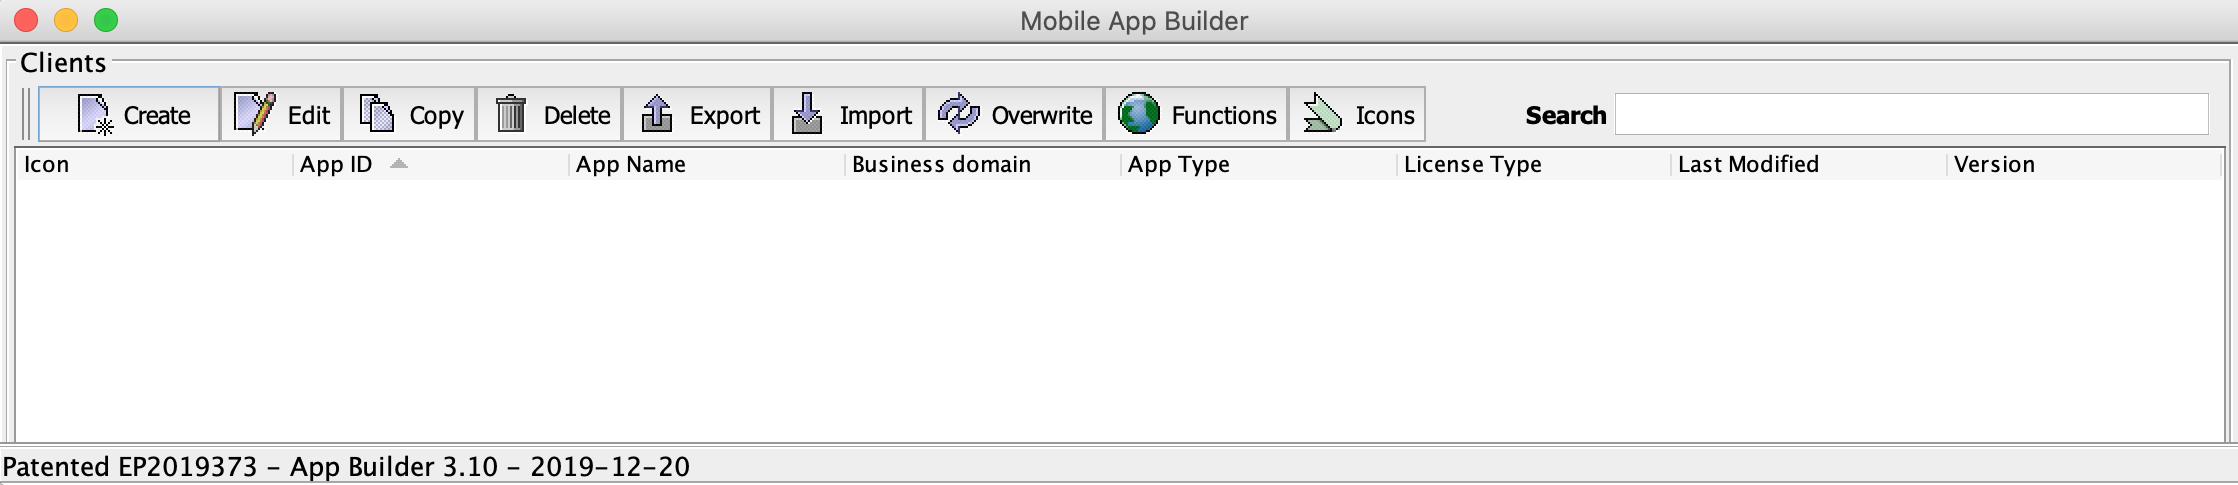
Create an app
This section tells how to create a simple app with the App builder, install it on the mobile devices and receive the data from the mobile users. As an example, it describes a simple app that asks the user to enter their name and sends transaction to the Reslink server.
To create the app:
Open the App builder applet.
-
Switch to the App settings tab, click Create and fill in the fields:
- App ID — A global ID of the Reslink application. It has to be unique across different companies to ensure that the user can have several apps installed.
- App name — Name of the application shown in the device (max length 20 characters).
- App icon — App icon shown in the list of apps on the device main screen. It must be a square image in the PNG format.
- App description — Description of the app shown, for example, in the device's notications.
- App logo — App logo shown on the login screen and in the app. It must be a square image in the PNG format.
Note: Changing the App ID, App name and App icon fields later will require re-installing the app. Other fields can be changed without re-installing the app.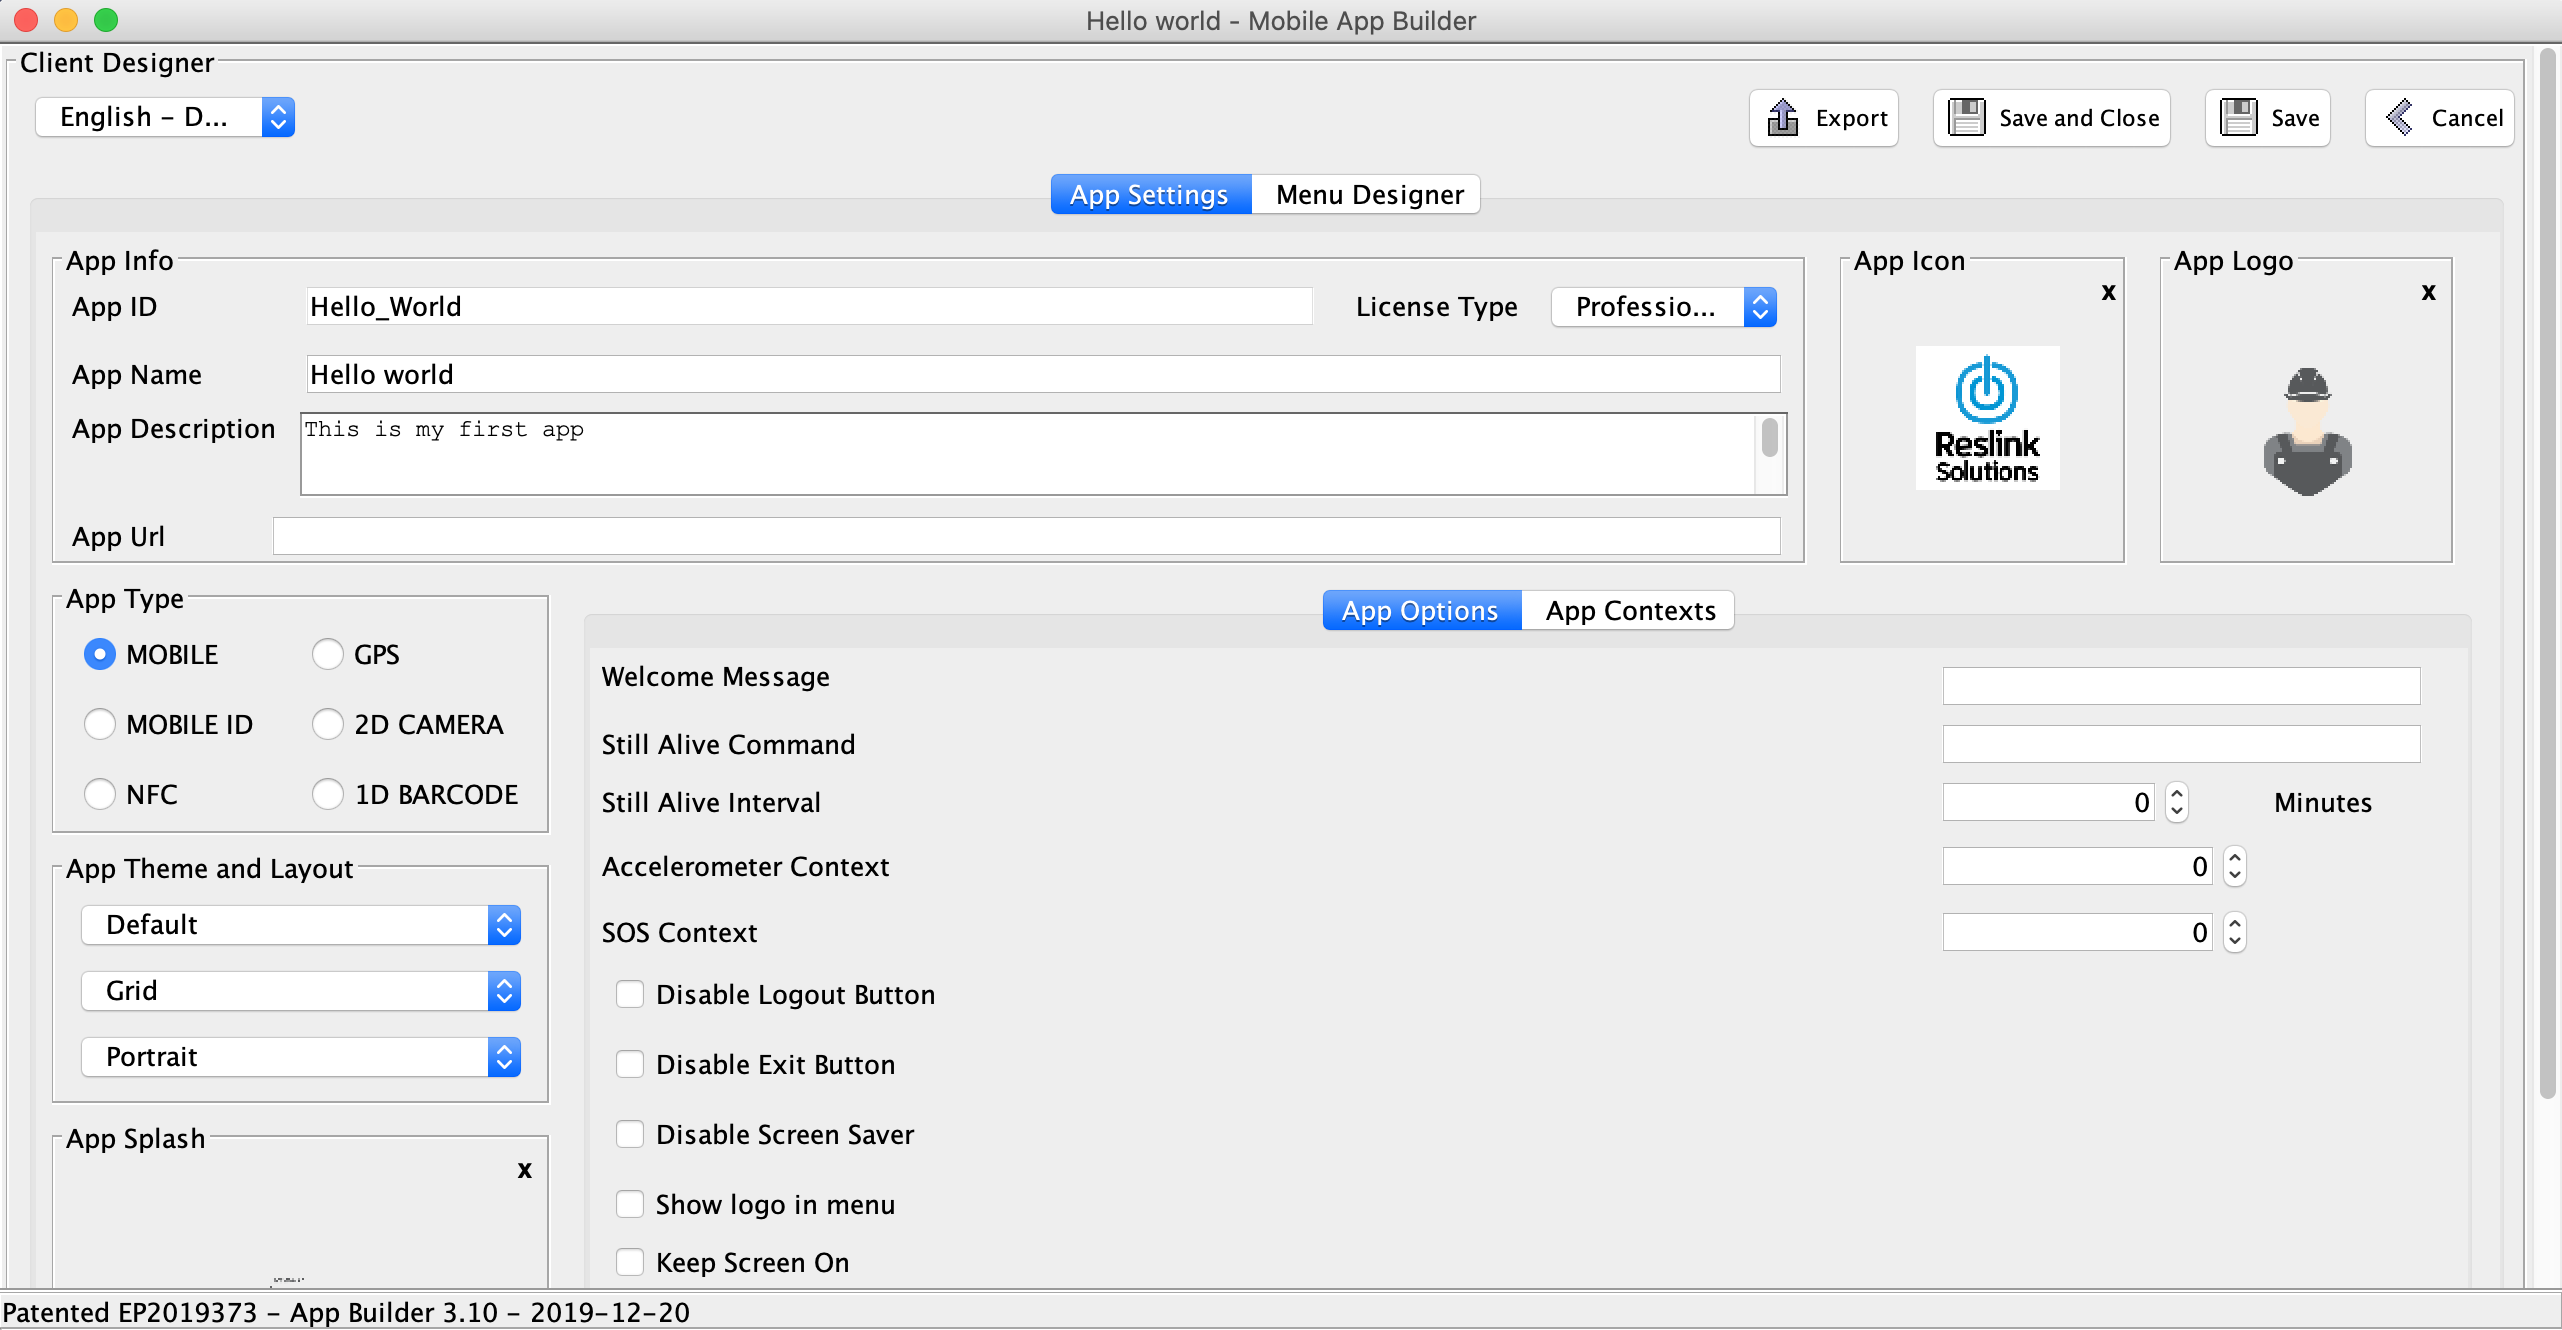
Switch to the Menu designer tab to build the app menu. Add the nodes for the app. For example, a string field where the user can enter their name. Click the new node button
 and define the node properties:
 - Label — Node label displayed in the app interface.
- ID — Node ID that is used to identify the node in transactions.
- Type — Type of node (see the Node reference section). Choose "String" to let the user enter a text string.
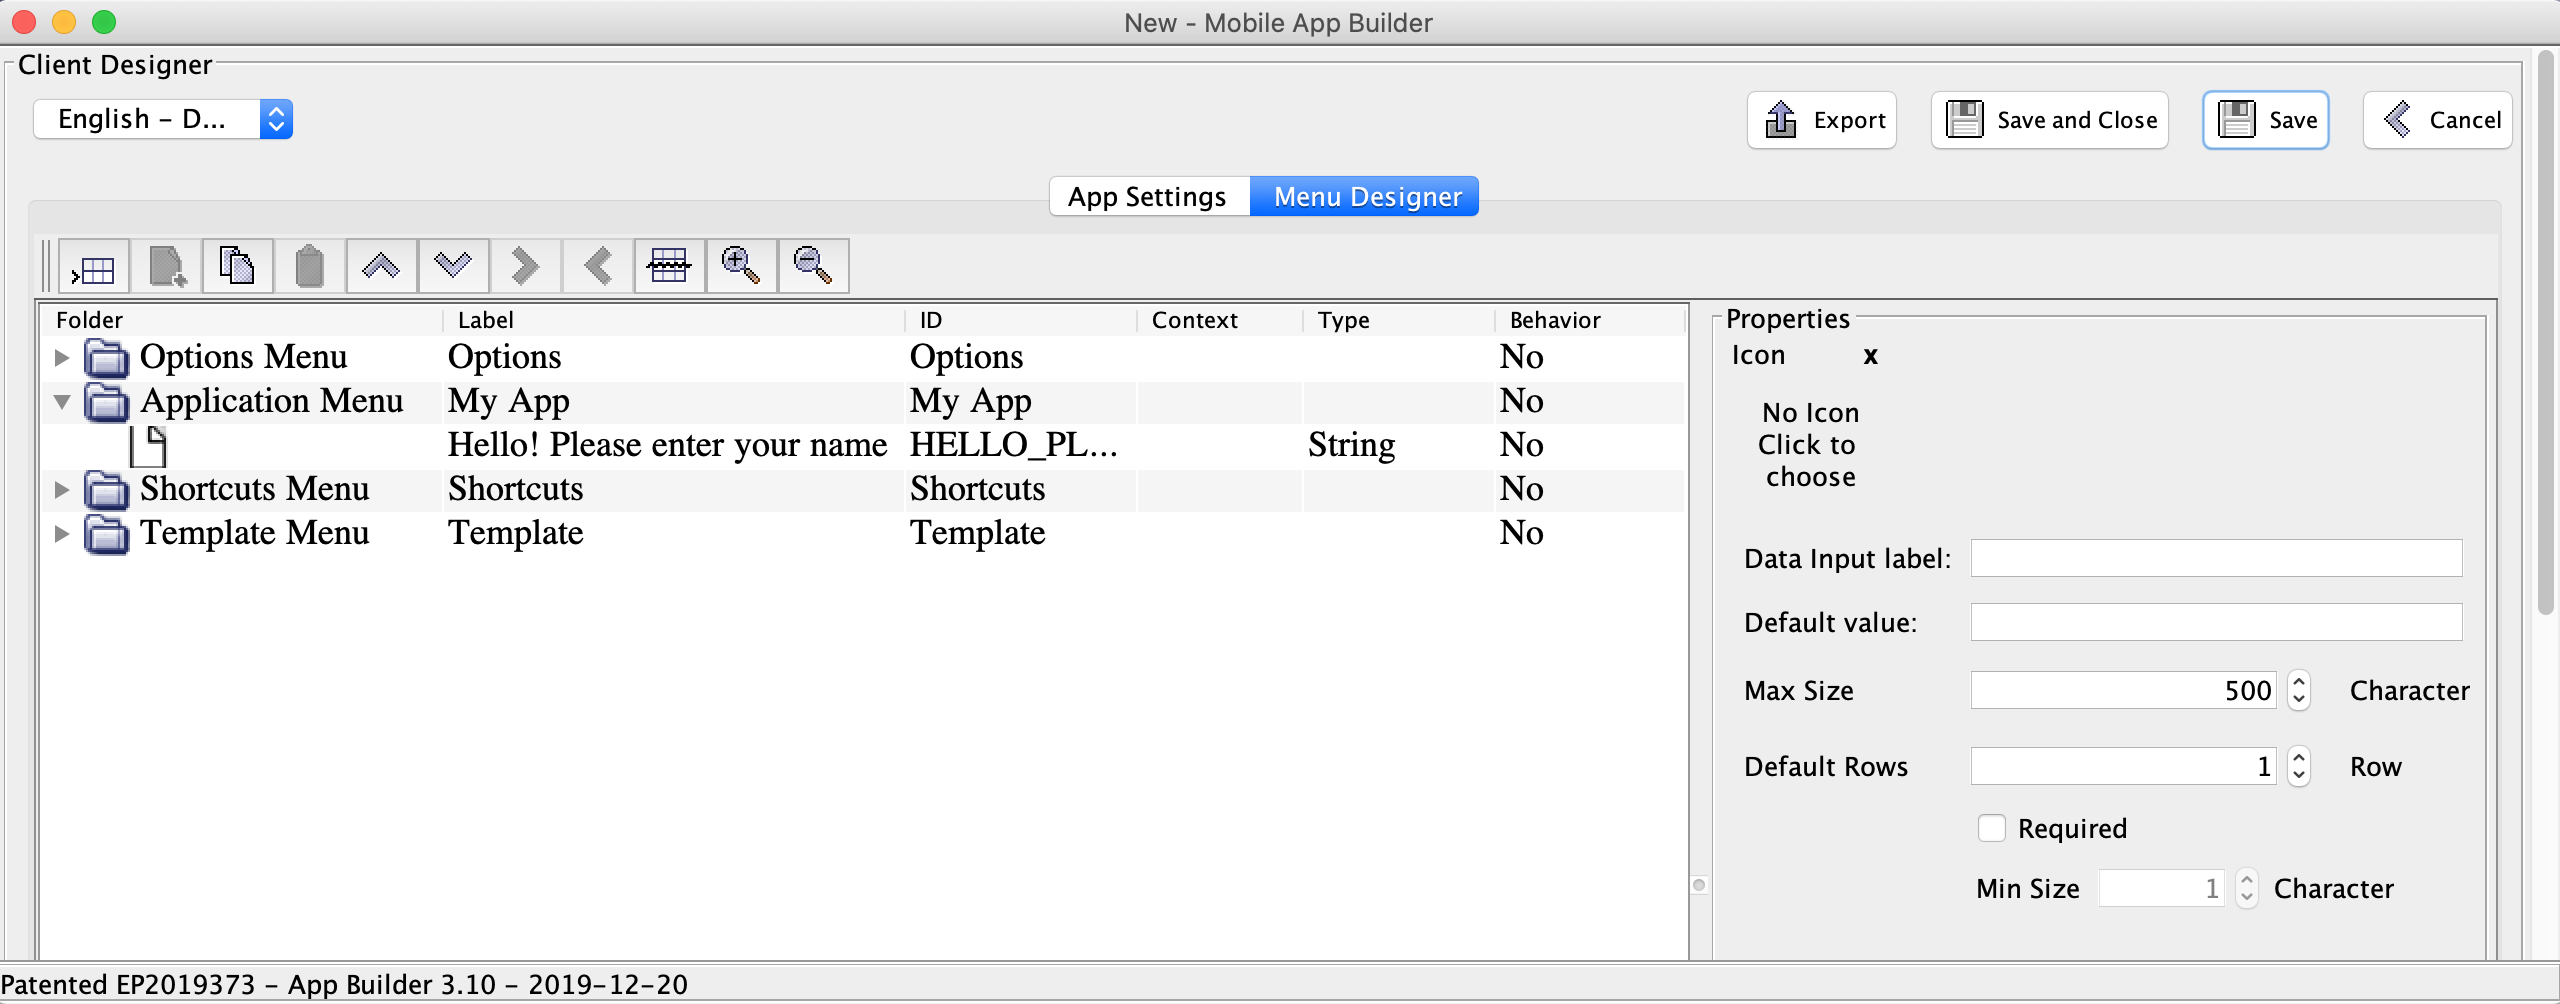
-
Click Save to save the changes.
Now the app is ready. You can install it on the mobile device and debug.