
Assign tickets
Watch our tutorial video on how to handle the ReslinkEye tickets:
Note: IncidentEye is now rebranded to ReslinkEye.
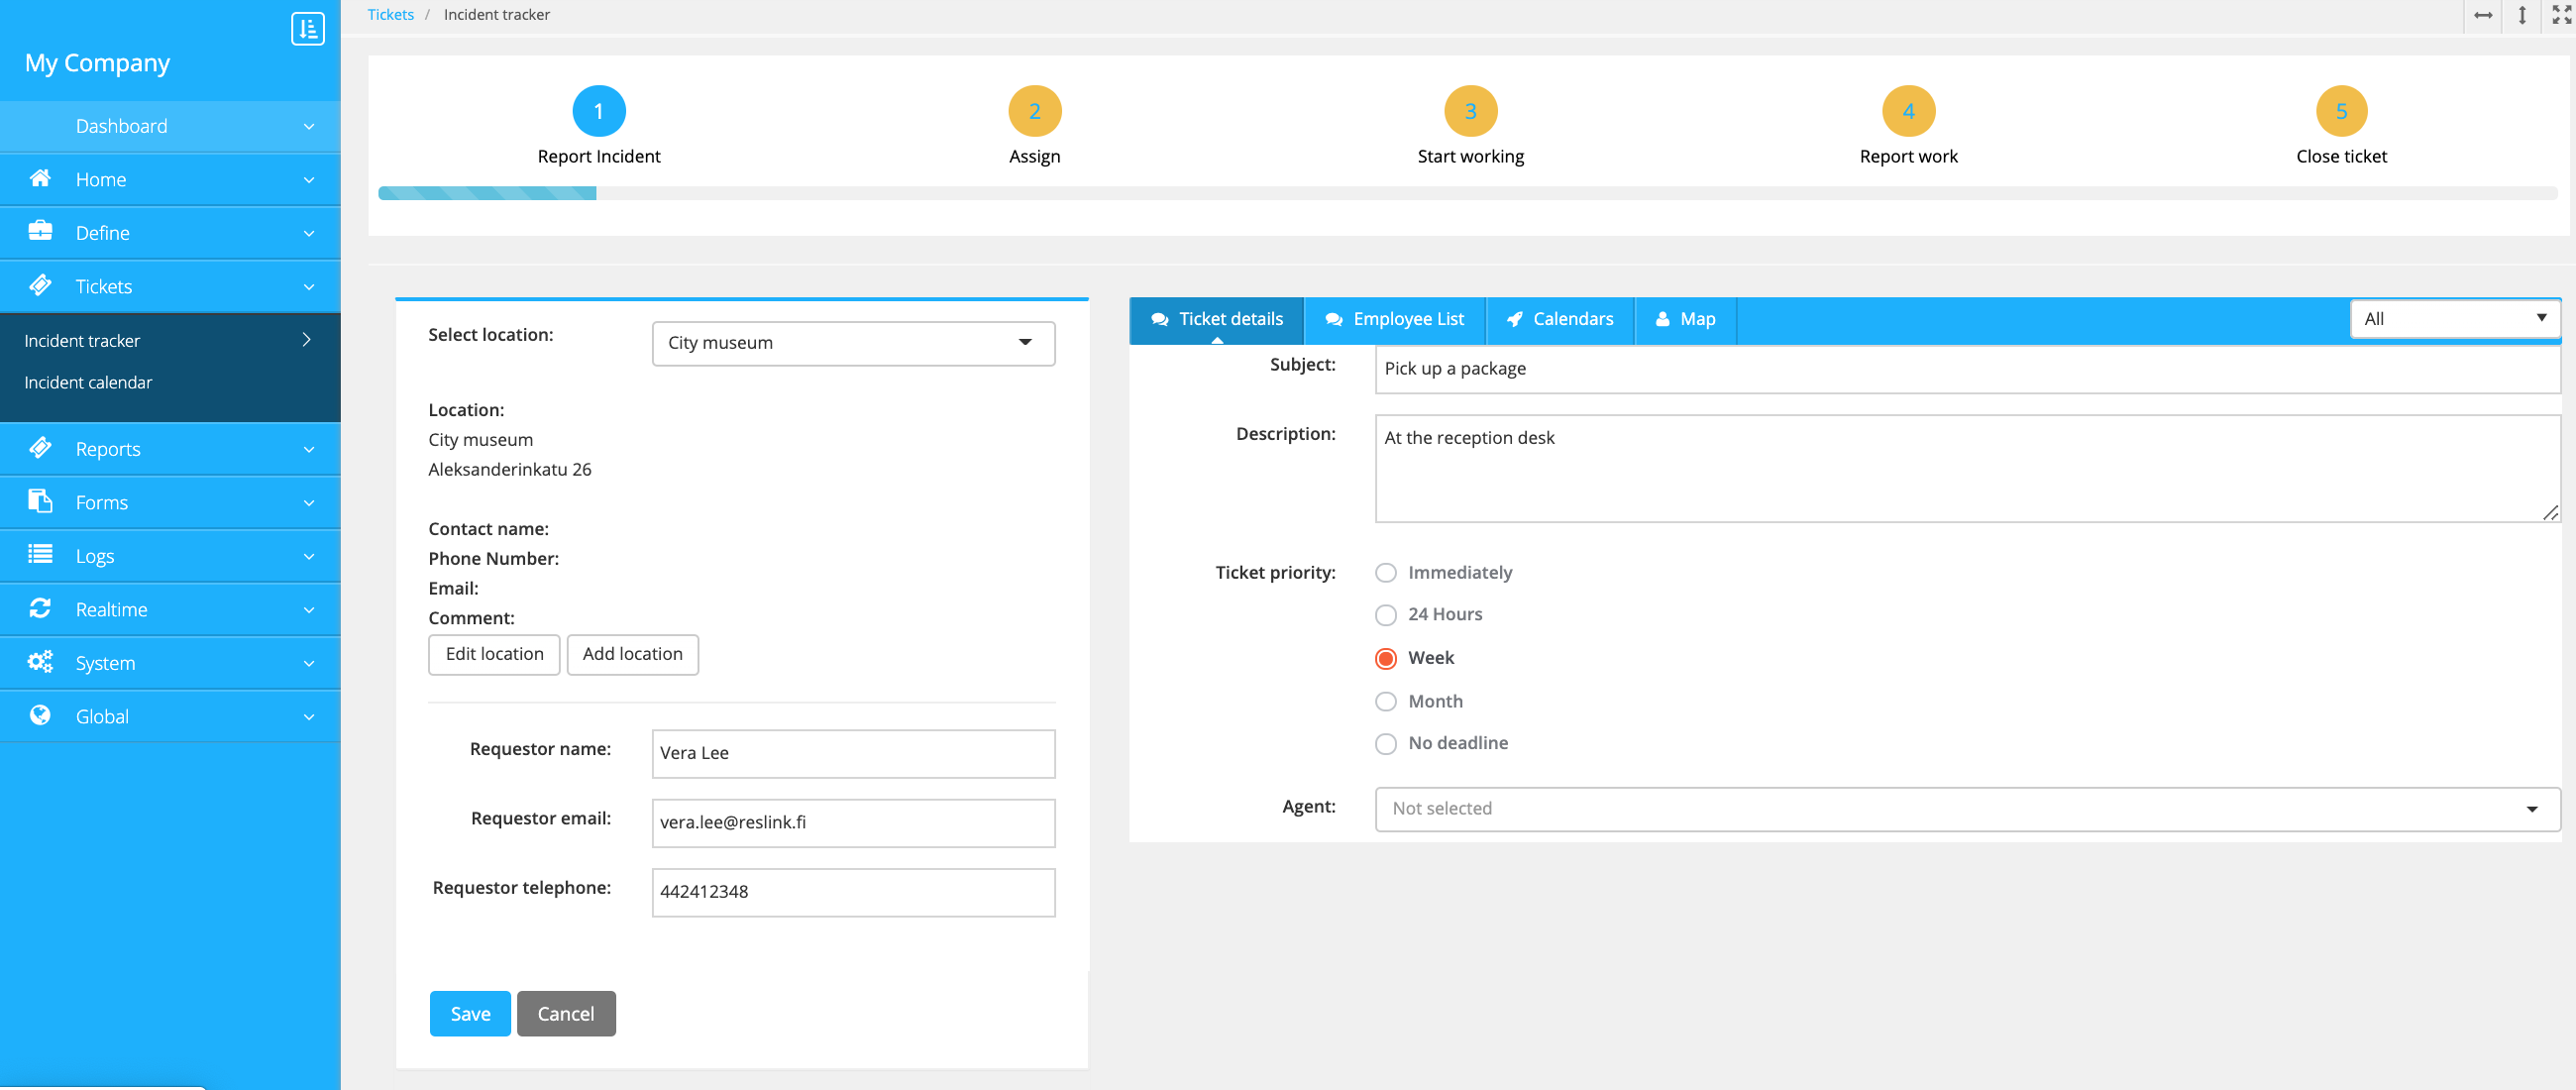
Created tickets are available on the page. To filter the tickets view, click the Show filters button.
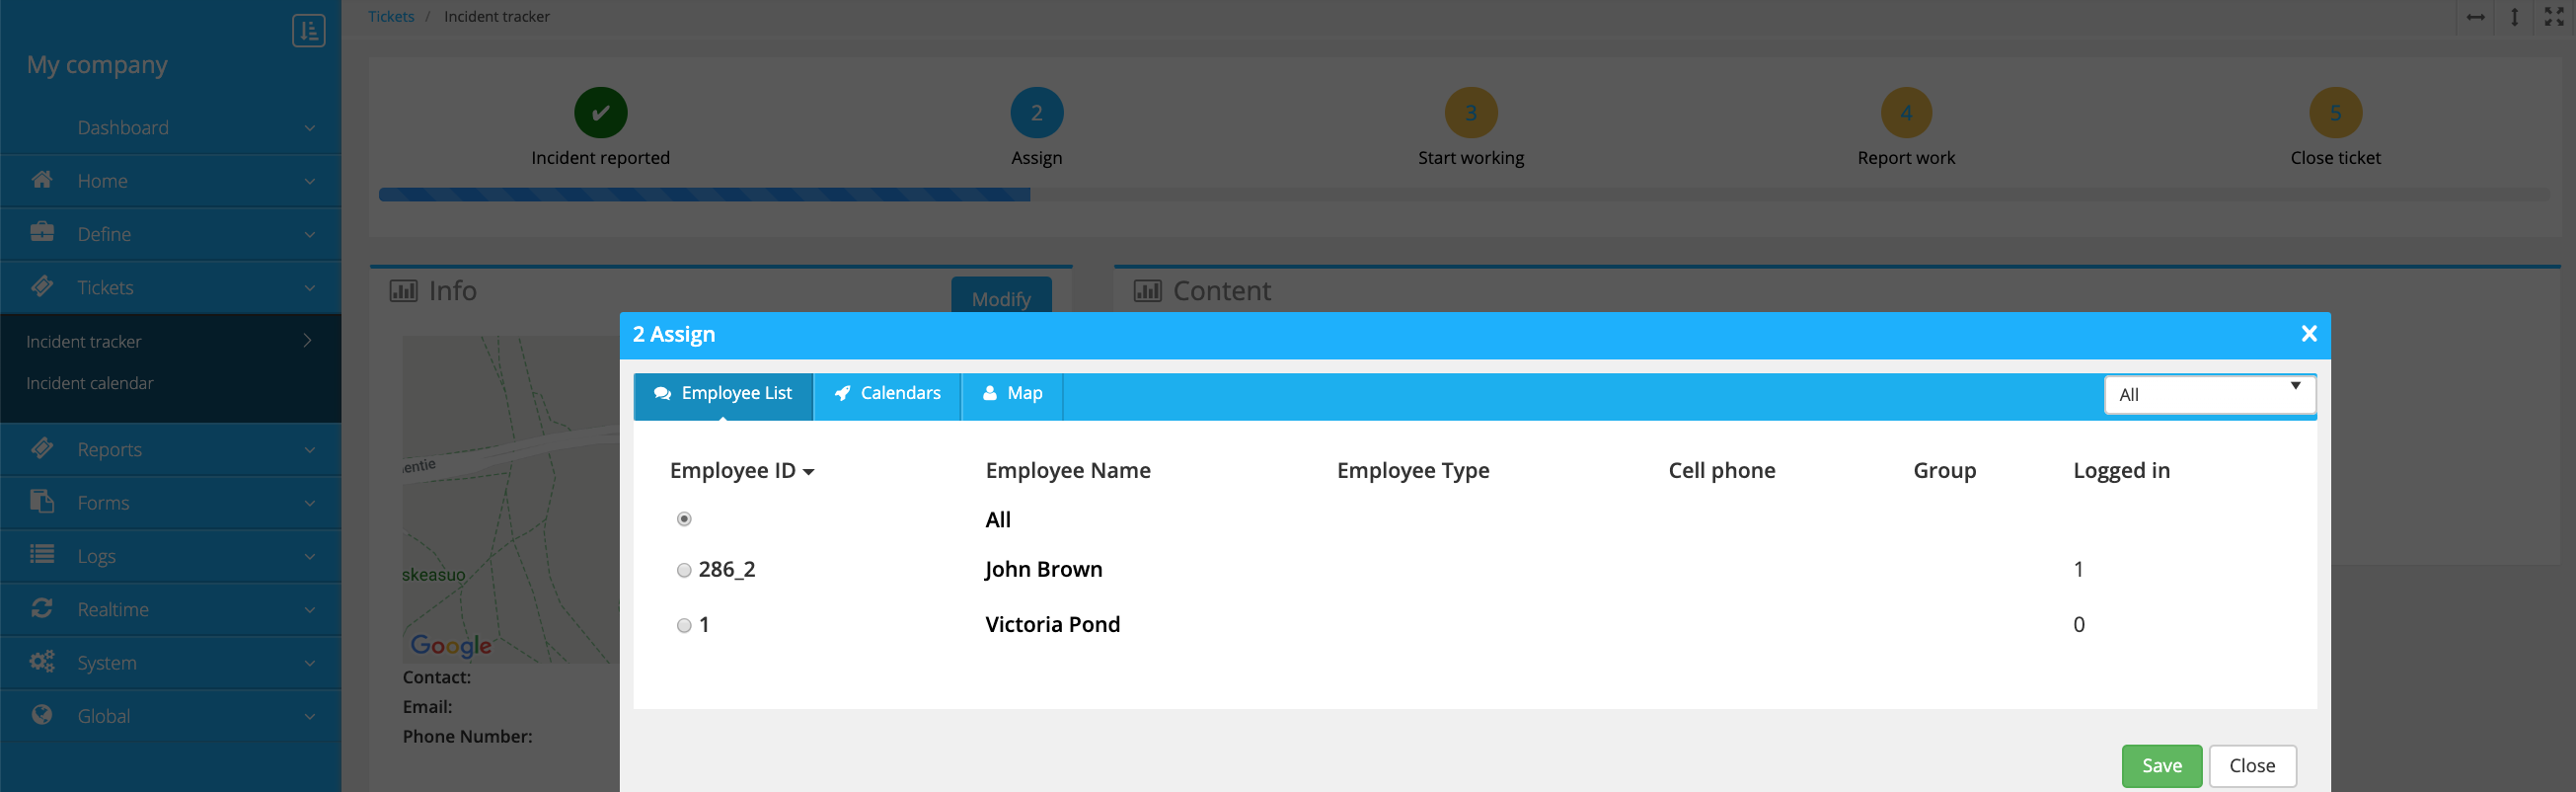
To assign a ticket, open it and click Assign in the progress bar on the top:
Add the agent user from the list:
The agent will get a push notification about the new ticket on their phone (this is the default notification setting). The ticket will be available in the user's Tickets list in the app:
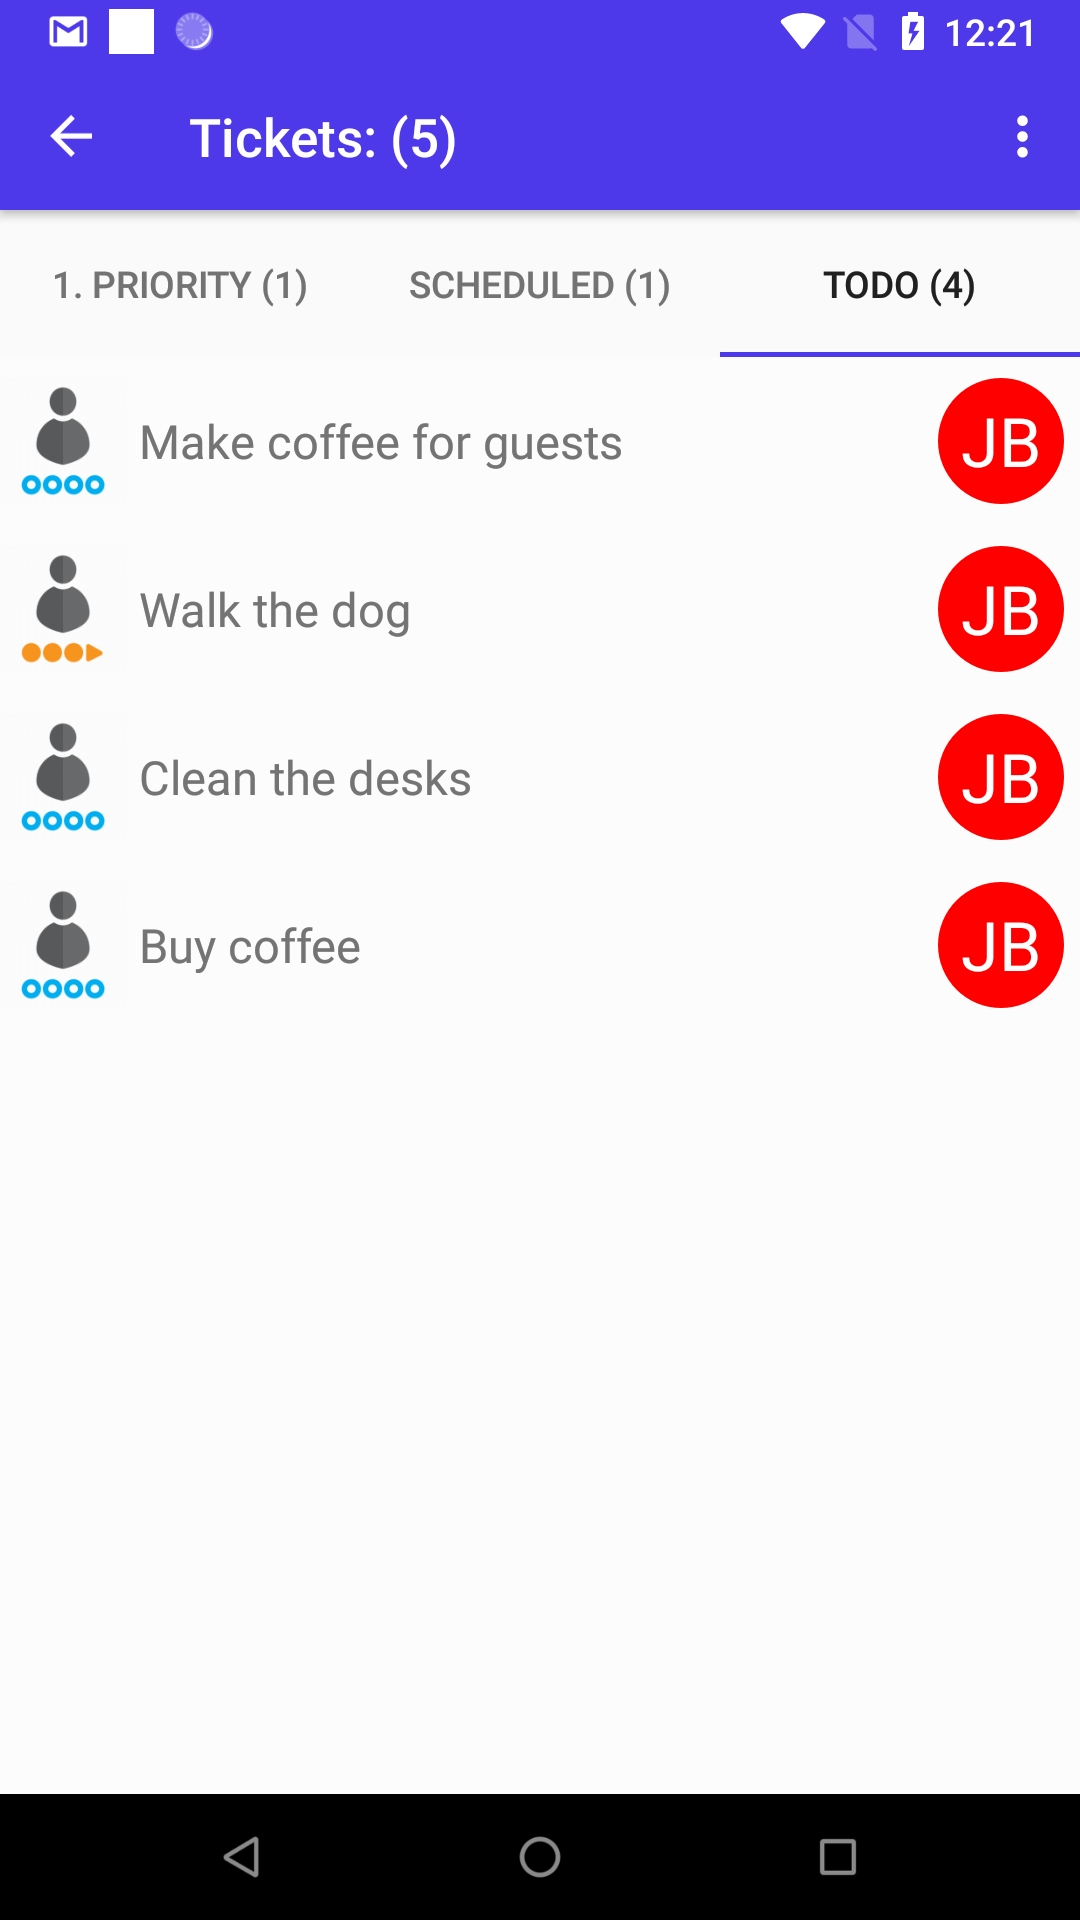
The employee can open the ticket and start the work.